Tag: dessert

  • Cranberry Cheesecake

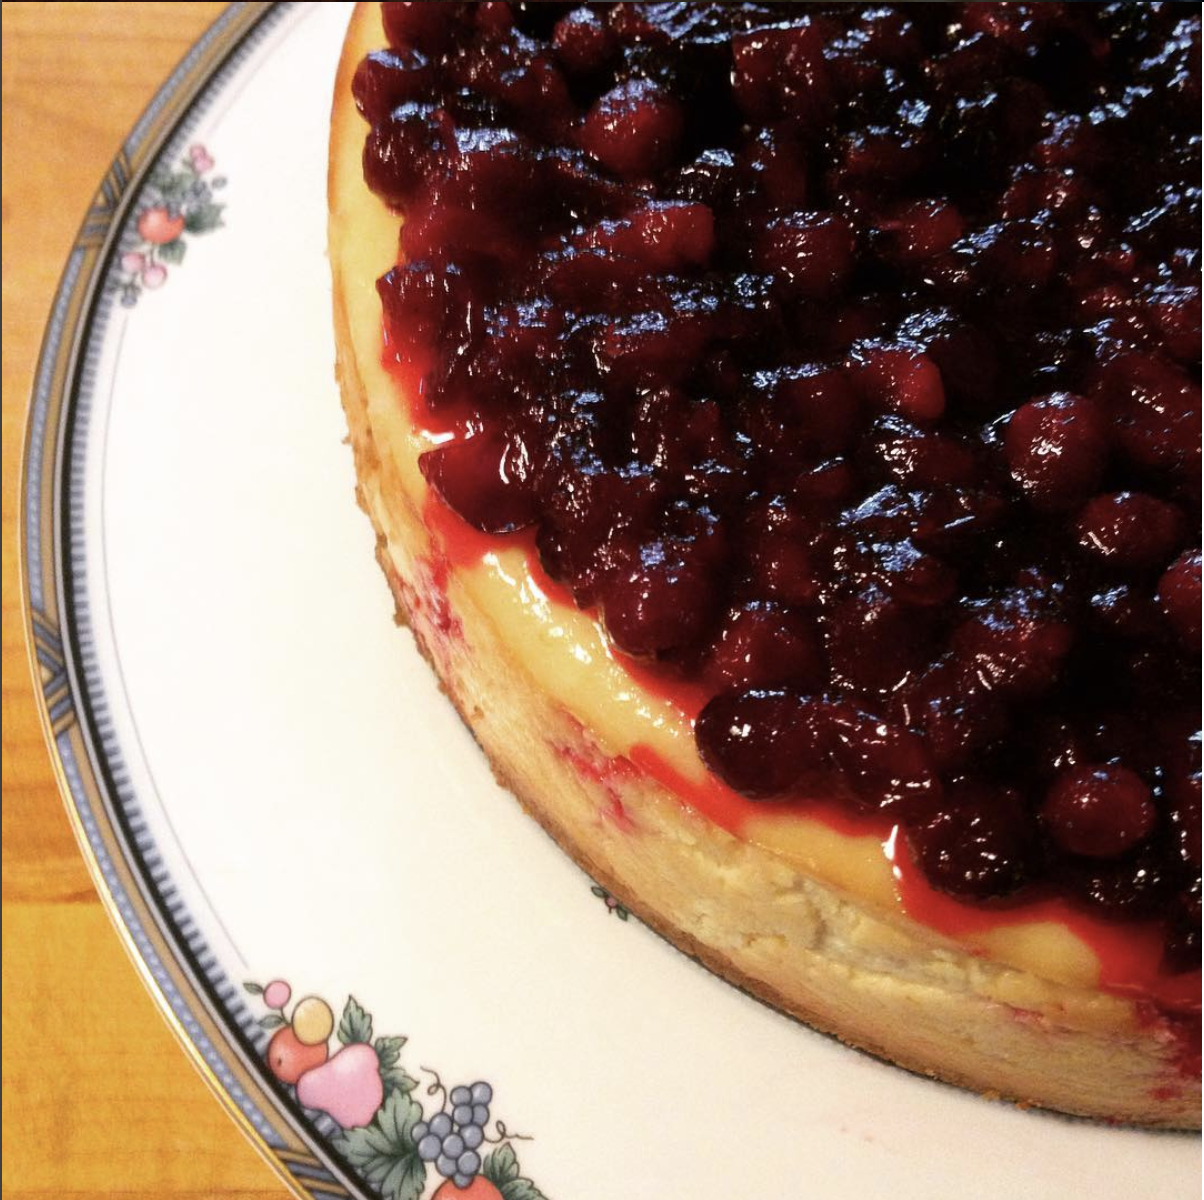
    Cranberry Cheesecake

    From the moment I took my first ever bite of a cheesecake, I was hooked for life. For the longest time, though, I always bought it, never made it from scratch here at home. It took a friend coming over and making one right in my kitchen before I realized how easy it is. Back then I didn’t even have a KitchenAid Mixer . It was all made with elbow grease. (The trick is to make sure the cream cheese is completely soft.)

    Now that my dear husband bought me one, it’s even easier. Faster. Well, at least the prep is. So tempt your family with this cheesecake recipe if you want them to get you a KitchenAid Mixer for Christmas. It will be worth it, I promise.

    Cranberry Cheesecake

    Ingredients for Cheesecake:
    (Get certified organic ingredients when possible.)
    15 graham crackers, ground
    3 tablespoons butter, melted
    4 packages cream cheese (8 oz each)
    1 1/2 cups sugar
    3/4 cup almond milk
    4 eggs
    1 cup sour cream
    1 tablespoon vanilla
    1/4 cup all-purpose flour

    Preheat the oven to 350 degrees Fahrenheit (175 degrees Celsius). Grease a 9 inch springform pan. Thrifty Tip: I save the wax paper from sticks of butter in the freezer. I use it to grease any and all baking pans.

    In a medium bowl, mix graham cracker crumbs with melted butter and press onto the bottom of the springform pan.

    In the KitchenAid Mixer bowl (or a large bowl), mix cream cheese with sugar until smooth. Add almond milk, eggs one at a time, sour cream, vanilla, and flour. Mix until smooth. Pour this cream cheese mix into springform pan, on top of the graham cracker crust.

    Bake for 1 hour. Turn the oven down to 300 degrees Fahrenheit for the next 30 minutes, then to 250 for another 30 minutes. Turn the oven off but let the cheesecake stand in the oven. Do not take the cheesecake out. Keep the oven door closed while it cools, approximately 5 hours. Once the oven and the cheesecake is cooled completely, take the cheesecake out of the oven and chill in the refrigerator.

    For cranberry topping, use my Maple Cranberry Sauce recipe.

    Cheers to you on this holiday season!
  • Autumn Apple Pie

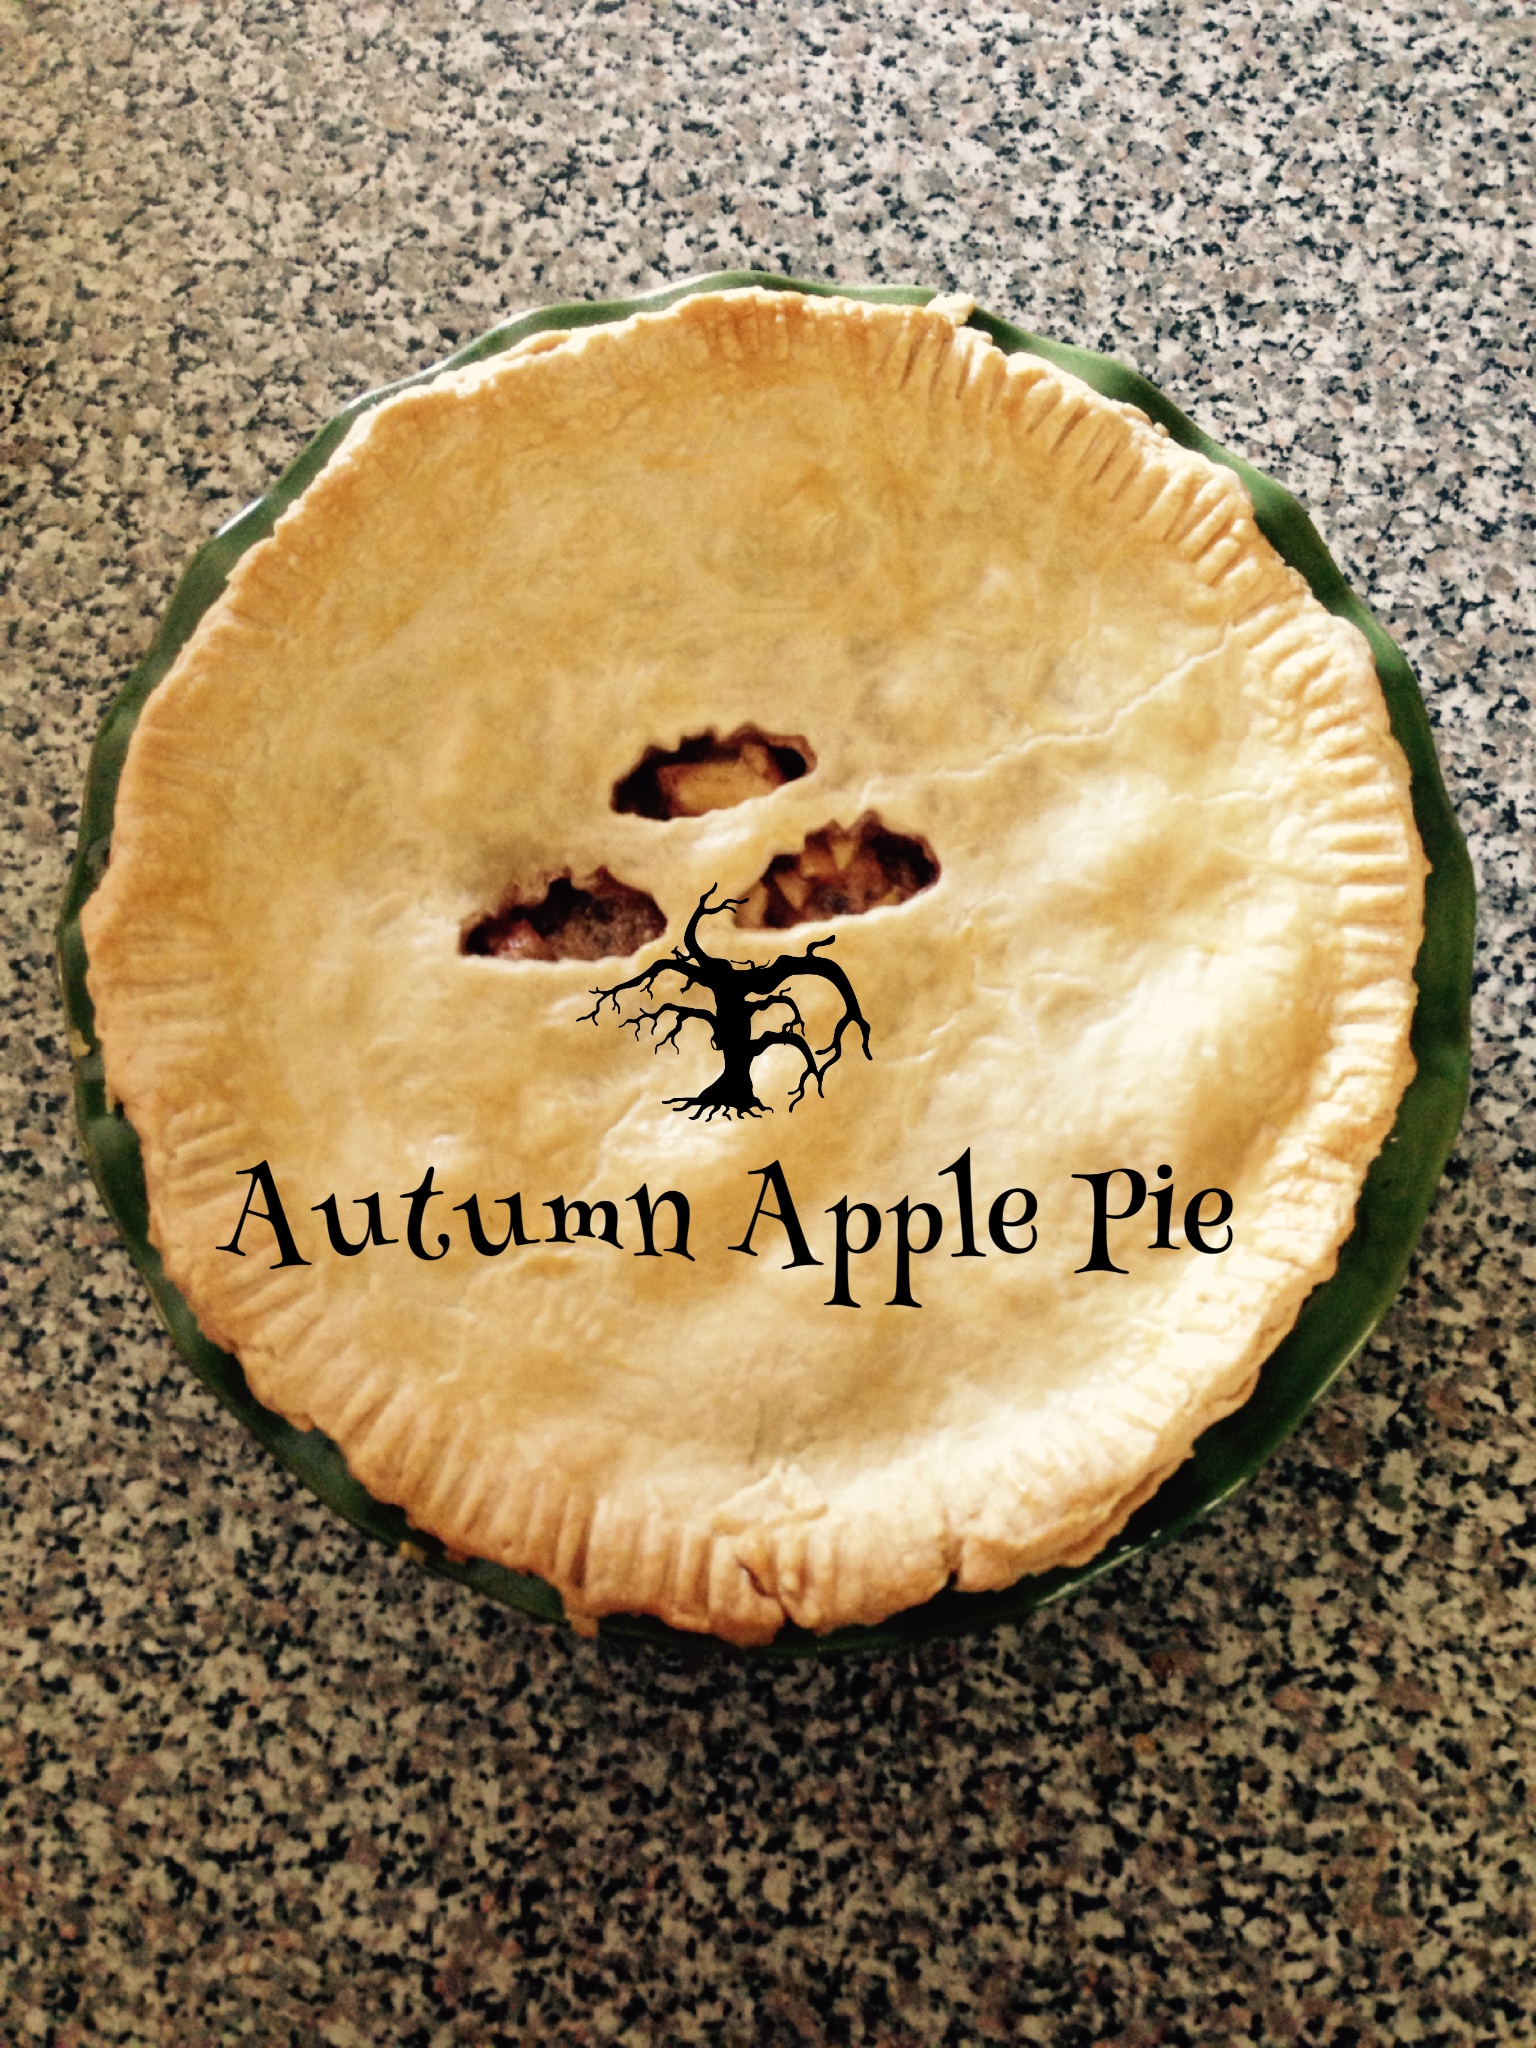
    Autumn Apple Pie

    This is a basic apple pie recipe that your grandmother likely already has in her recipe box, but here you go. Now you can have this apple pie recipe online as well.

    Apple Pie

    Ingredients: Perfect Pie Crust
    3 cups pastry flour
    1 cup (2 sticks) butter, softened
    pinch of salt
    1/2 cup iced water

    This is my perfect pie crust. I learned how to do it from a vintage recipe when I got married in 1996 and have perfected it all these years. Mix flour, butter and salt, until mixture is in crumbs. Toss with iced water. Do not overmix. Divide pie crust dough into two. Use the wax paper from one of the sticks of butter to grease the pie pan. Roll out one part of the dough and lay in the pie pan. Roll out the second part of the dough and cut out holes to let the steam out.

    Ingredients: Apple Pie Filling
    7 organic apples, peeled and sliced thin
    1/2 cup organic cane sugar
    1/2 cup organic brown sugar
    3 tablespoons organic and unbleached all-purpose flour
    1 teaspoons organic ground cinnamon
    1/4 teaspoon organic ground ginger
    1/4 teaspoon organic ground nutmeg

    Preheat oven at 375 degrees Fahrenheit. Mix all apple pie filling ingredients in a large bowl. Pour into the pie crust bottom already in the pie pan. Cover with the top pie crust. Pinch together and push a non-metal fork’s tines on the edge of the crust. This is a good time to put the assembled apple pie on the Food Zappicator and turn the zapper on to zappicate the pie. Brush whisked organic egg white on the top crust while zappicating. The egg white wash will give the pie a nice golden color once baked in the oven. Bake for 25 minutes. Turn the pie in the oven and bake for another 25 minutes. Cool before serving.

  • Berry Yogurt

    Berry Yogurt

    It’s springtime and berries are back in season. Sure, you can find berries in the grocery store almost any time of the year, but more often than not, they look a little sad and travel-worn.

    I’m talking about berries you can find at your local farmers market, the kind more than likely grown just within a few miles from where you live. Yes, the kind that is bursting with nutritious ripeness because they were harvested the morning you bought it. (See Superfoods: 11 Berries to Improve Your Health.)

    Now I could probably eat a whole pint of any of these berries in one sitting, just popping each one in my mouth like popcorn. But for a heavier breakfast or dessert, I like to put it on top of a bowl of raw organic yogurt.

    Raw organic yogurt is dairy that is fermented with beneficial bacteria, for a healthy digestive system. (See 10 Proven Probiotic Yogurt Benefits & Nutrition Facts.) My local health food store stocks them from a local organic dairy farm. They come in flavors such as maple, vanilla and blueberry, but I’m a stickler for keeping it simple. I get plain for its versatility.

    Raw organic yogurt is not the same as the mass-produced yogurt you can buy in the grocery stores, which is over-processed through pasteurization, killing all the beneficial bacteria naturally occurring in raw milk. Then they add back a starter culture of live bacteria, thickeners, preservatives, and artificial sweeteners. It is nowhere near the creamy goodness I get in a mason jar from my local organic dairy farm. Believe me, it’s really worth it to find a local source for raw organic yogurt, and when you do…

    Scoop out some of that raw organic yogurt into a bowl, drizzle maple syrup to taste, and sprinkle your favorite berries on top. You’re welcome.

    Raw #yogurt with #berries and maple syrup. #organic #raspberries #blueberries #blackberries

    A photo posted by Modern Wife (@modernwife) on