We made a movie! My husband, daughter and I have been making a short movie series since summer last year. My daughter calls it Time Brats. It’s a sci-fi fantasy musical, and she invites her cousins, classmates, and in this latest one, the 4th episode, her 2nd grade teacher, to be part of it. It’s a lot of fun, and keeps me and my husband busy making props and costumes before the shoot, and editing and soundtracking after it. Here’s the video. We had so much fun making it. I hope you like it.
But that’s not really what this blog post is about. I want to show you how to sew the Chipmunks’ Ears out of scrap fabric we had at home. It’s easy!
Materials:
paper for making a pattern
brown fabric (we used fleece)
bright colored furry fabric (we had violet at home)
plastic headband close to the wearer’s hair color
sewing machine, thread, scissors, pins, thimble, whatever it takes for you to work on a sewing project
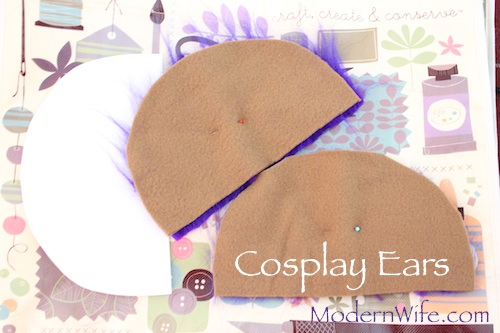
Start by cutting out a pattern. It’s really simple, just a straight line at the bottom and a half circle above. It can be as big or small as you want the ears to be. I imagine making it small would be a lot more difficult, unless you have really tiny fingers, so make it a decent size, maybe half an 8 1/2 by 11 piece of paper.
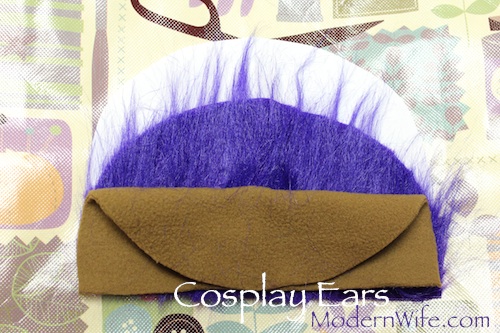
When it’s time to cut out the fabric, make sure your fur goes in the direction away from the straight line. I’m not sure I’m describing it accurately so just take a look at the picture above to see what I mean. Cut out 2 sets for 2 ears.
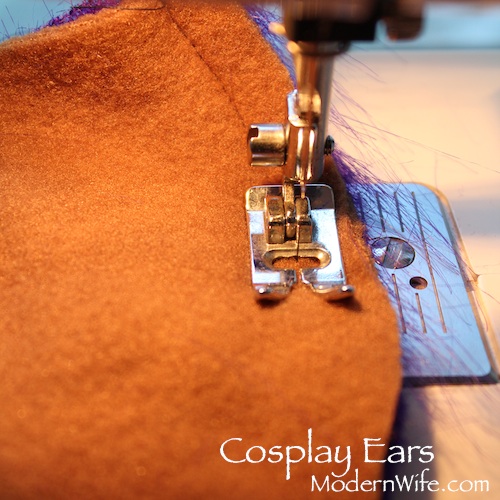
Put the fabrics together, right sides facing each other, wrong sides on the outside. Tuck the fur in so we don’t sew it and we get more fuzz for fun. Then sew the half-circle around. Don’t worry if you have to make little pleats just to make the two pieces of fabric fit. Just make sure you keep the ends of the straight line bottom together.

Turn it inside out. See the pleats I did when I sewed the half circle? It looks pretty cool.
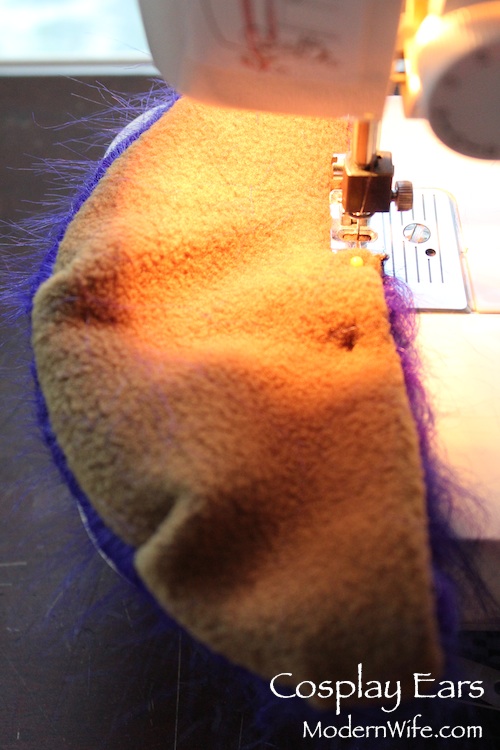
Fold the straight sides in, and sew together.

Now here’s the tricky part. To get those ears on the headband, you’ll need to hand-sew it on. Fold the ears in half, fur on the inside and set it up straight side in line with the headband, curved side sticking outward like, oh yeah, ears! Hand-sew the ears together to hold on to the headband. You could knock yourself out and sew the whole straight side together, but I just sewed the part close to the fold, and then the ends.
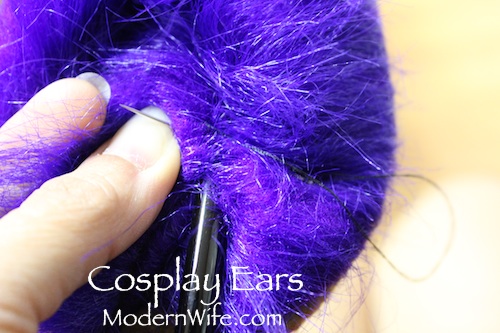
To really secure the ears to the headband, get into the furry part and sew it together close to the headband. I just did the middle of the ear and it stayed put well enough for two 8-year-olds to wear all day and shake their heads around in.
Rock those ears, girls!
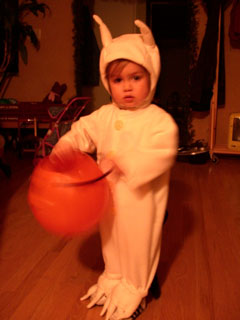 At two years old, she was Max from her favorite book, Maurice Sendak’s Where The Wild Things Are. I scoured the internet for photos of this costume. I found a pattern for a body suit for toddlers and added the feet, tail and headdress.
  At three years old, she was infatuated with Disney’s Cinderella movie. She loved the Fairy Godmother, so I thought that would make a magical costume for Halloween. I never got a picture of the whole ensemble. The cloak always manages to be whipped off before I can get a photo, but here is the inner gown, a classic bell-sleeve dress, lined of course, for added comfort and warmth.
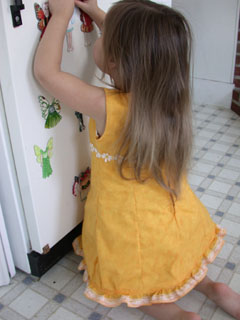
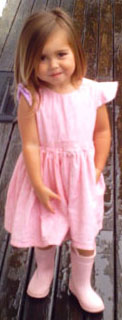 This pink dress on the right, for instance, I am so embarrassed by. It was the first dress I made that year, sort of a trial run before I attempted to make her Fairy Godmother costume. The stitches are messy, the zipper looks hideous, some seams are not well tucked resulting in frays, and worst of all, I sewed the sleeves on upside down. (See how the sleeves bell out like she belongs in a sci-fi movie? It’s not supposed to be that way.)
 Regardless of all that, she wore that dress everyday since I made it. I would hide it under other clothes in her drawer, and she would dig it out. I love her. She is teaching me everyday to love myself too.