This past weekend was a crochet fest at our house. I don’t know what came over me. I just suddenly got this urge to find my crochet needles and yarns and make amigurumi, tiny crocheted toys.
I had a skein of Stitch Nation wool to use up. This yarn is so buttery. I love it!
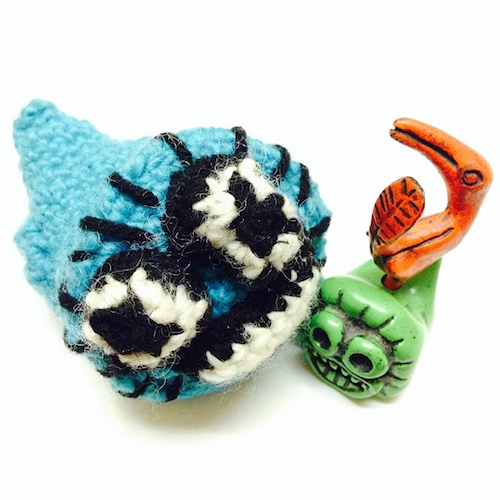
I made a swampbogger, one of those American mythological creatures my husband grew up hearing stories about and now as an adult making toys of.
Pretty soon my 9-year-old daughter was crocheting a white rabbit from a pattern in the book, Kyuuto! Japanese Crafts Amigurumi by Tomoko Takamori. I had to stop every so often to help her. She learned to do the chain stitch at 6 years old, and once in a while pick it up again, learning more along the way. Working with patterns was a really great way to practice her multiplication table.
I love making amigirumi because of how small these projects are. They’re little one-sitting projects that bring so much joy so instantly. Perfect for kids and busy parents.
We made a movie! My husband, daughter and I have been making a short movie series since summer last year. My daughter calls it Time Brats. It’s a sci-fi fantasy musical, and she invites her cousins, classmates, and in this latest one, the 4th episode, her 2nd grade teacher, to be part of it. It’s a lot of fun, and keeps me and my husband busy making props and costumes before the shoot, and editing and soundtracking after it. Here’s the video. We had so much fun making it. I hope you like it.
But that’s not really what this blog post is about. I want to show you how to sew the Chipmunks’ Ears out of scrap fabric we had at home. It’s easy!
Materials:
paper for making a pattern
brown fabric (we used fleece)
bright colored furry fabric (we had violet at home)
plastic headband close to the wearer’s hair color
sewing machine, thread, scissors, pins, thimble, whatever it takes for you to work on a sewing project
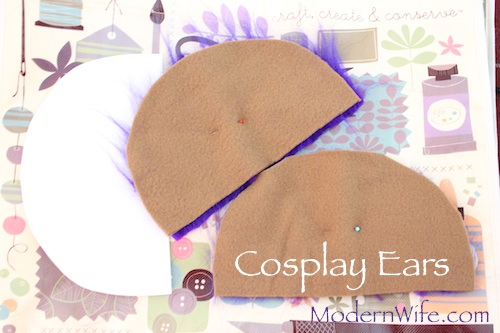
Start by cutting out a pattern. It’s really simple, just a straight line at the bottom and a half circle above. It can be as big or small as you want the ears to be. I imagine making it small would be a lot more difficult, unless you have really tiny fingers, so make it a decent size, maybe half an 8 1/2 by 11 piece of paper.
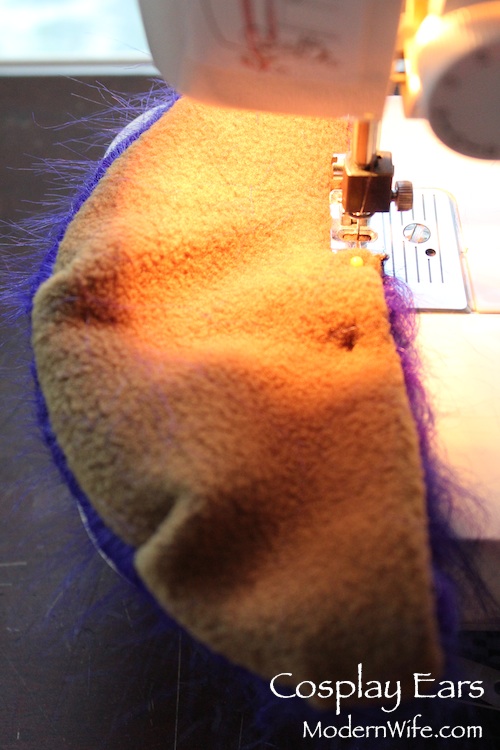
When it’s time to cut out the fabric, make sure your fur goes in the direction away from the straight line. I’m not sure I’m describing it accurately so just take a look at the picture above to see what I mean. Cut out 2 sets for 2 ears.
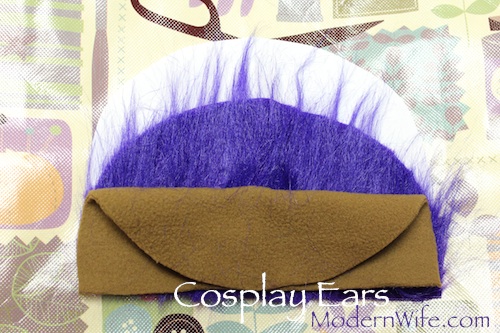
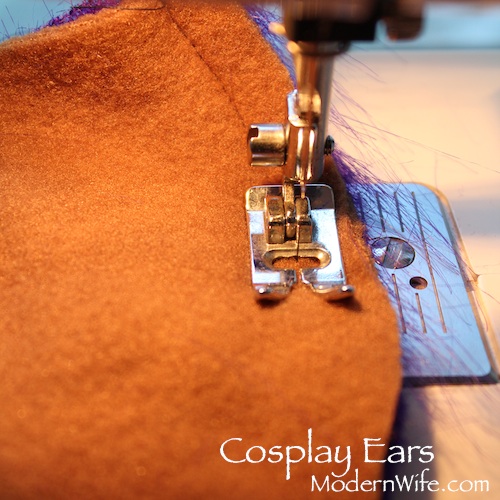
Put the fabrics together, right sides facing each other, wrong sides on the outside. Tuck the fur in so we don’t sew it and we get more fuzz for fun. Then sew the half-circle around. Don’t worry if you have to make little pleats just to make the two pieces of fabric fit. Just make sure you keep the ends of the straight line bottom together.
Turn it inside out. See the pleats I did when I sewed the half circle? It looks pretty cool.
Fold the straight sides in, and sew together.
Now here’s the tricky part. To get those ears on the headband, you’ll need to hand-sew it on. Fold the ears in half, fur on the inside and set it up straight side in line with the headband, curved side sticking outward like, oh yeah, ears! Hand-sew the ears together to hold on to the headband. You could knock yourself out and sew the whole straight side together, but I just sewed the part close to the fold, and then the ends.
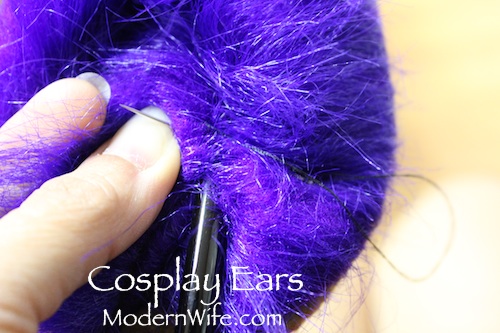
To really secure the ears to the headband, get into the furry part and sew it together close to the headband. I just did the middle of the ear and it stayed put well enough for two 8-year-olds to wear all day and shake their heads around in.
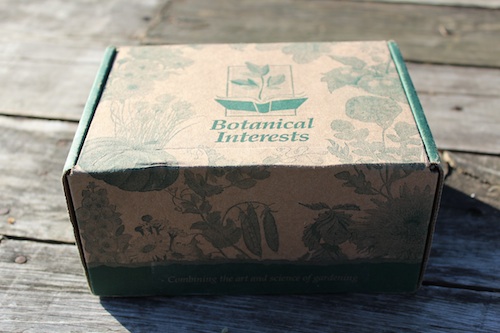
I got my seeds from Botanical Interests! They came in this pretty box which fits nicely in my mailbox.
A while back I was thinking about seeds and the recent defeat of Proposition 37 here in California. Without mandatory labeling of GMO seeds and food, I will have to assume something is genetically modified, unless they voluntarily state otherwise. The Non-GMO Project is an awesome guide to finding non-GMO products. The Cornucopia Seeds I bought at my local OSH last fall were marked “Not treated or genetically modified” right on the packet. Mike at Urban Organic Gardener wrote about Sources for Buying Non-GMO seeds. The comments thread is really really interesting. One of the commenters posted a list of seed companies owned or supplied by Monsanto. They could be selling organic or non-gmo seeds and still be making money for the Evil Empire. Well, I was glad to know that the seeds I got last fall have nothing to do with Monsanto. And this winter I bought my seeds from Botanical Interests, which sells non-GMO organic and heirloom seeds. They are not on the list of seed villains. And they have these lovely illustrations on the packets. That goes a long way with me.
I bought so many seeds! I admit I got a little carried away. For less than the price of one trip to the grocery store, I just bought my family’s vegetables all year. I also received a complimentary packet of Lettuce.
With these non-gmo organic seeds, and our own gardens that we’ll tend using organic gardening practices, we will be eating better than we ever have. I imagine just-picked sugar snap peas crunching in my mouth, not having soggy or dried out vegetables in the refrigerator, everything eaten just after snipping it off the plant. Does that sound like heaven to you?
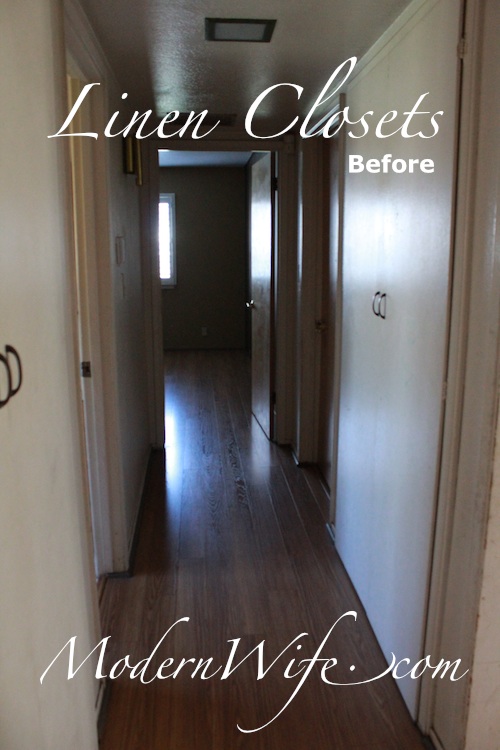
Since we moved into this old ranch-style farmhouse in the winter, we did not want to paint the walls and be stuck indoors with the smell of fumes. But there are child’s scribbles on some parts of the walls including these white linen closets. I tried and tried to scrub them off but they would not come off.
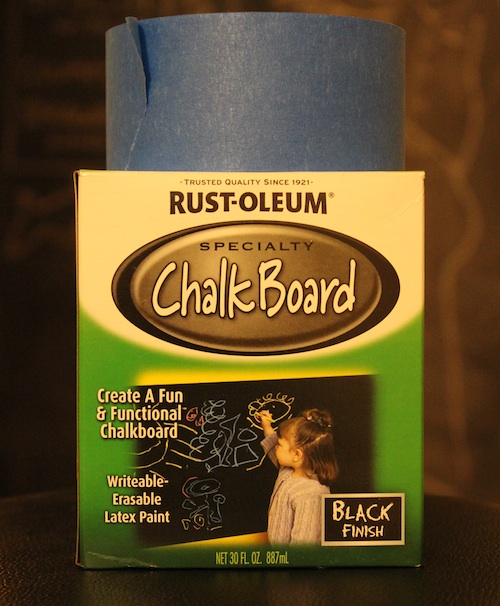
Inspired by the child’s scribbles, my husband rolled two layers of Chalkboard Paint on the Linen Closet Doors. It only took one 30-oz. can of Rust-Oleum Chalkboard Paint to do it.
Materials: Rust-Oleum Chalkboard Paint, Painters Masking Tape, Paint Roller, Metal Paint Tray, Drop Cloth, Sandpaper, Fan.
Sand your surface, make sure it’s clean. Masking tape the edges to make sure you don’t smudge past what you want to paint. Set up your drop cloth under your workspace. Then lay that paint. Since we are doing this in the winter, we had to keep one window open and run the fan. Instructions say wait 4 hours before rolling that second layer, and wait 4 days before using the chalkboard.
To prepare the Chalkboard, rub the whole surface with chalk, then erase. Now we’re all set to draw or write or scribble or doodle. I’ve never drawn this big!
I wanted to make Halloween party invitations that looked ghostly, so I went for the ancient and distressed look. I got the idea from the Better Homes and Gardens how-to guide.
We have stacks of manila paper sitting around at home, so I started with that. From the craft store, I bought walnut ink for staining, a spooky stamp, distress stamp pad ink and black ribbon.
I also downloaded the free Halloween font “Nemo Nightmares” from this free font site. There are so many to choose from. Pick the one that works best with your theme. Type out your invitation on a word processing program. (I used Microsoft Word, then saved it as a PDF.)
First I prepared for spraying with walnut ink by laying newspaper and scratch paper on my work table. Walnut ink is extremely staining. You wouldn’t want to mess up your table. Test it out on scrap paper first, so you know how far away you ought to be from your paper when spraying. I sprayed one side of my manila paper, let it dry, then sprayed the other side. A little goes a long way.
Once the stained manila paper is dry on both sides, I ran it through the printer, using the PDF file of my invitation. My PDF file contained 4 invitations on 1 page, so I also used a paper cutter to neatly slice my paper into quarters.
I used my cat stamp and distress stamp pad ink to put a little design accent on the invitation.
Once everything was dry, I snipped short lengths of ribbon, rolled up my parchment and tied ribbon around it. Now they look ready for the owl mail.
Any parent traveling with children on a plane stocks up on activities to do while in transit. We certainly had a backpack’s worth of toys, drawing books and art supplies. Most important for parents, however is a creative mind to keep kids entertained during the many hours in limbo.
On our flight from San Francisco to Manila aboard Philippine Airlines, we received a plastic bag each containing a toothbrush, toothpaste, sleeping mask and a pair of socks. When boredom set in, it was sock puppet time!
Fold the toe in to make a mouth for the sock puppet. Have your child draw the face using a sharpie marker.
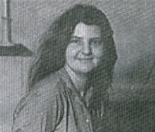
Cornelia was born in Manhattan on the 18th of February, 1928. She attended Yale University School of Art in New Haven, CT, taking courses in painting and sculpture. Aside from her oil paintings, Cornelia also created marionettes. She wrote and illustrated “Seventeen Poems of Fairyland” in 1952. Cornelia Schwarz Stefatos was a Democratic Party Chairwoman for 15 years. In 1973, Cornelia retreated to a Victorian Mansion in New Brighton, Staten Island, where she lived with her old dog Shempie and fellow artists. She died on the 16th of January, 1998.
Windows of woodland kitchens are alight,
A-blaze with coppery kettles on the peat,
Lids flash and ladles gallop in the pot
As cooks, the chattering cooks, concoct a treat!
Puddings of poppy-seed and pansy sauce,
A soup of spicy nuts and sour-grass,
Poke-berries rolled in yellow pollen dust,
Mint tea and sugar-dew-drops,
Sassafras!
A fairy pussy purrs by every fire,
Sparks lightly falling into smoky silk!
Green, greedy eyes approve the fairy feast,
Long whiskers dipping into squirrel’s milk!
A rainbow-colored wine and star-dust bread,
Mauve marmalade and pickled hornet’s feet,
Thin milkweed cookies, hexagons of honey,
Root soup, and roast snap-dragon meat!
Excerpt from “Seventeen Poems of Fairyland”
Written and illustrated by Cornelia Schwarz, 1952


 Cornelia was born in Manhattan on the 18th of February, 1928. She attended Yale University School of Art in New Haven, CT, taking courses in painting and sculpture. Aside from her oil paintings, Cornelia also created marionettes. She wrote and illustrated “Seventeen Poems of Fairyland” in 1952. Cornelia Schwarz Stefatos was a Democratic Party Chairwoman for 15 years. In 1973, Cornelia retreated to a Victorian Mansion in New Brighton, Staten Island, where she lived with her old dog Shempie and fellow artists. She died on the 16th of January, 1998.