From the moment I took my first ever bite of a cheesecake, I was hooked for life. For the longest time, though, I always bought it, never made it from scratch here at home. It took a friend coming over and making one right in my kitchen before I realized how easy it is. Back then I didn’t even have a KitchenAid Mixer
. It was all made with elbow grease. (The trick is to make sure the cream cheese is completely soft.)

Now that my dear husband bought me one, it’s even easier. Faster. Well, at least the prep is. So tempt your family with this cheesecake recipe if you want them to get you a KitchenAid Mixer for Christmas. It will be worth it, I promise.
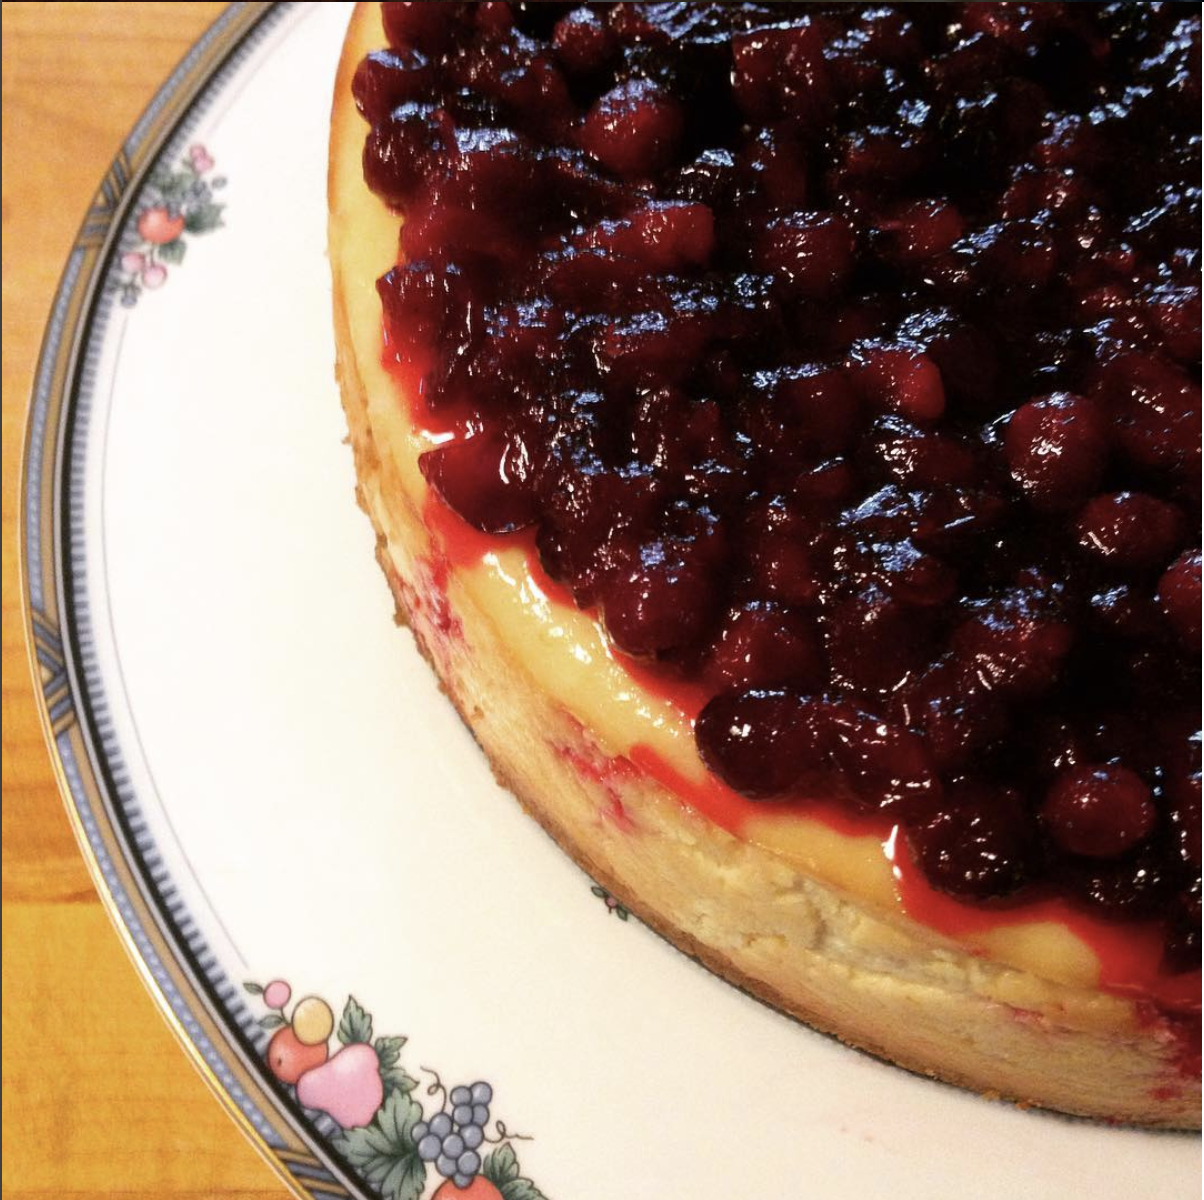
Cranberry Cheesecake
Ingredients for Cheesecake:
(Get certified organic ingredients when possible.)
15 graham crackers, ground
3 tablespoons butter, melted
4 packages cream cheese (8 oz each)
1 1/2 cups sugar
3/4 cup almond milk
4 eggs
1 cup sour cream
1 tablespoon vanilla
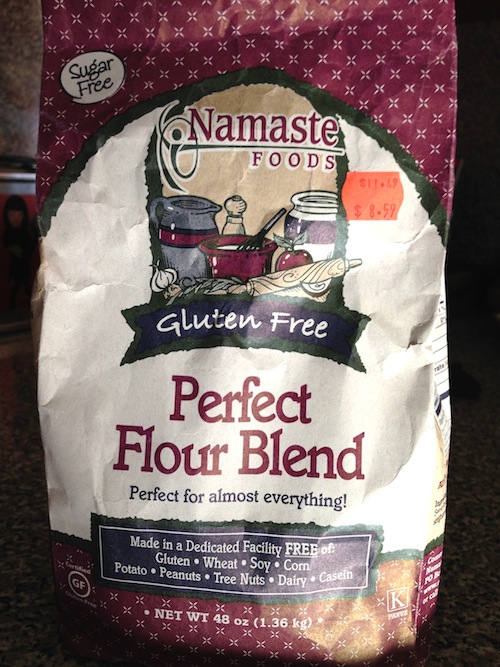
1/4 cup all-purpose flour
Preheat the oven to 350 degrees Fahrenheit (175 degrees Celsius). Grease a 9 inch springform pan. Thrifty Tip: I save the wax paper from sticks of butter in the freezer. I use it to grease any and all baking pans.
In a medium bowl, mix graham cracker crumbs with melted butter and press onto the bottom of the springform pan.
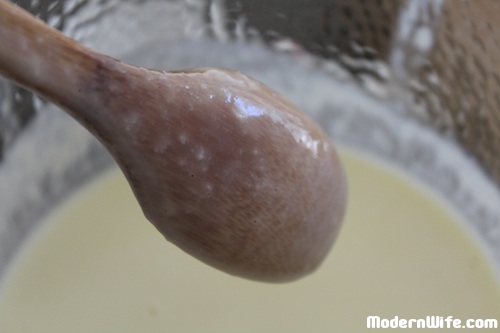
In the KitchenAid Mixer bowl (or a large bowl), mix cream cheese with sugar until smooth. Add almond milk, eggs one at a time, sour cream, vanilla, and flour. Mix until smooth. Pour this cream cheese mix into springform pan, on top of the graham cracker crust.
Bake for 1 hour. Turn the oven down to 300 degrees Fahrenheit for the next 30 minutes, then to 250 for another 30 minutes. Turn the oven off but let the cheesecake stand in the oven. Do not take the cheesecake out. Keep the oven door closed while it cools, approximately 5 hours. Once the oven and the cheesecake is cooled completely, take the cheesecake out of the oven and chill in the refrigerator.
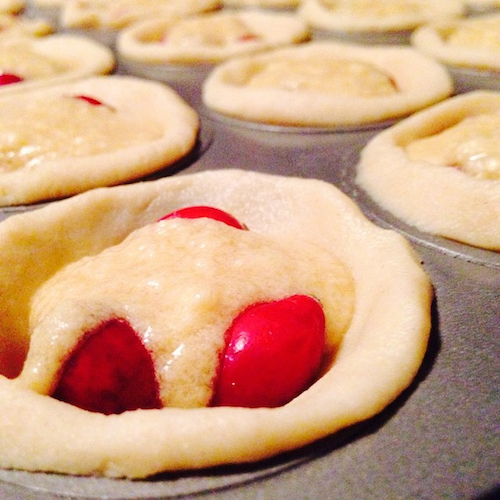
For cranberry topping, use my Maple Cranberry Sauce recipe.
Cheers to you on this holiday season!