Tag: fruits

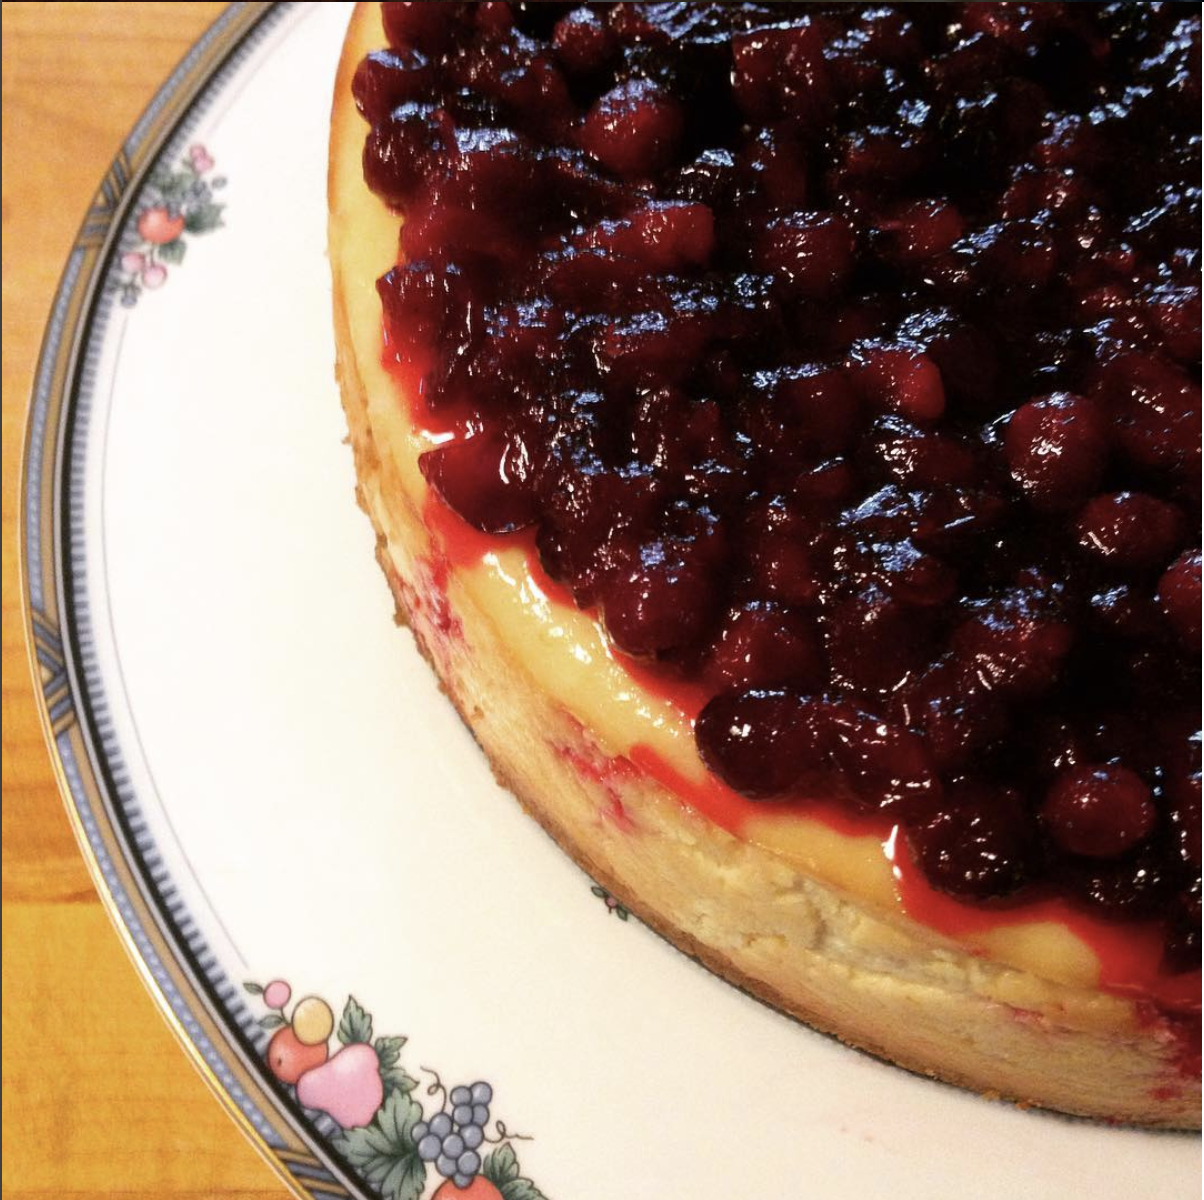
  • Cranberry Cheesecake

    Cranberry Cheesecake

    From the moment I took my first ever bite of a cheesecake, I was hooked for life. For the longest time, though, I always bought it, never made it from scratch here at home. It took a friend coming over and making one right in my kitchen before I realized how easy it is. Back then I didn’t even have a KitchenAid Mixer . It was all made with elbow grease. (The trick is to make sure the cream cheese is completely soft.)

    Now that my dear husband bought me one, it’s even easier. Faster. Well, at least the prep is. So tempt your family with this cheesecake recipe if you want them to get you a KitchenAid Mixer for Christmas. It will be worth it, I promise.

    Cranberry Cheesecake

    Ingredients for Cheesecake:
    (Get certified organic ingredients when possible.)
    15 graham crackers, ground
    3 tablespoons butter, melted
    4 packages cream cheese (8 oz each)
    1 1/2 cups sugar
    3/4 cup almond milk
    4 eggs
    1 cup sour cream
    1 tablespoon vanilla
    1/4 cup all-purpose flour

    Preheat the oven to 350 degrees Fahrenheit (175 degrees Celsius). Grease a 9 inch springform pan. Thrifty Tip: I save the wax paper from sticks of butter in the freezer. I use it to grease any and all baking pans.

    In a medium bowl, mix graham cracker crumbs with melted butter and press onto the bottom of the springform pan.

    In the KitchenAid Mixer bowl (or a large bowl), mix cream cheese with sugar until smooth. Add almond milk, eggs one at a time, sour cream, vanilla, and flour. Mix until smooth. Pour this cream cheese mix into springform pan, on top of the graham cracker crust.

    Bake for 1 hour. Turn the oven down to 300 degrees Fahrenheit for the next 30 minutes, then to 250 for another 30 minutes. Turn the oven off but let the cheesecake stand in the oven. Do not take the cheesecake out. Keep the oven door closed while it cools, approximately 5 hours. Once the oven and the cheesecake is cooled completely, take the cheesecake out of the oven and chill in the refrigerator.

    For cranberry topping, use my Maple Cranberry Sauce recipe.

    Cheers to you on this holiday season!
  • Coconut Quinoa Cereal

    Coconut Quinoa Cereal

    You might be surprised by how delicious and filling this Coconut Quinoa Cereal is, while being quite possibly the healthiest breakfast on the planet. Let’s look at the ingredients.

    Quinoa is a versatile whole grain that can be made into a salad, a lunch casserole, or a dinner side.

    Quinoa is gluten-free, high in protein, and one of the few plant foods that contain all nine essential amino acids. It is also high in fiber, magnesium, B-vitamins, iron, potassium, calcium, phosphorus, vitamin E and various beneficial antioxidants.

    11 Proven Health Benefits of Quinoa
    Authority Nutrition

    Coconut milk is no slouch either. Coconut milk improves heart health, builds muscle, helps lose fat, prevents fatigue, stimulates digestion, relieves constipation, manages blood sugar, and prevents anemia, joint inflammation, and ulcers. (Source: Dr. Axe)

    Don’t you feel healthier already? Now go and make this cereal.

    Coconut Quinoa Cereal

    Ingredients:
    1 cup coconut milk
    1/2 cup quinoa
    1/3 cup unsweetened shredded coconut
    Maple syrup or raw honey to taste
    More coconut milk to taste

    Heat the coconut milk until boiling. Add quinoa and cover. Lower heat to simmer until the coconut milk is absorbed but still slightly wet. Mix the shredded coconut in. Serve warm with maple syrup or raw honey and more coconut milk to taste. Makes 2 servings.

    Experiment with some of your favorite toppings. Sliced apples with cinnamon, berries, bananas, nuts. Have a happy healthy start to your day!

  • Banana Ice Cream

    Banana Ice Cream

    If I were to get stuck on an island with only one kind of fruit-bearing tree, I would hope and pray it was banana. Believe it or not, bananas are considered berries. In tropical countries like the Philippines, where I grew up, there are different kinds of bananas, varying in size, color, firmness and the thickness of its peel.

    Latundan bananas are short, fat, very sweet and have thin peel. Lacatan bananas are the typical kind that can be bought in Western countries, longer, starchier, and with thicker peel than Latundan. Saba, also known as plantain, is big, bland, and better eaten cooked than raw. There is also the Señorita, which is very very small and very very sweet.

    Growing up in the Philippines, bananas were a staple in my home. We don’t have as much variety in the US, but I try to always have some in my home here in Maine. It’s an easy to grab and go snack, and a nutritious dessert after meals. I throw one in the blender for all kinds of smoothies. Cut up in half with some peanut butter spread in between is all kinds of awesome.

    Bananas are rich in vitamin B6, vitamin C, manganese, magnesium and potassium, according to the USDA report on the nutritional value of bananas.

    Although my favorite way to eat bananas is just by itself, my daughter recently requested it as an ice cream flavor. Here’s my recipe:

    Banana Ice Cream with Caramel Swirl

    Ingredients:
    2 cups organic raw whole milk
    1 cup organic raw heavy cream
    4 large organic egg yolks (we had duck eggs, and they were fantastic!)
    2/3 cup organic sugar
    2 ripe organic bananas, chilled
    1 tablespoon organic sugar
    1/2 tablespoon freshly squeezed organic lemon juice

    Caramel Ingredients:
    1/2 cup organic sugar
    1 cup organic raw heavy cream

    Directions:

    Combine milk and cream in a medium saucepan over medium-low heat. Stir occasionally so a film doesn’t form on the surface, until tiny bubbles show up on the edges and the mixture reaches 170 degrees Fahrenheit.

    4 #duck #egg #yolks. Can you guess what I’m making?

    A photo posted by Modern Wife (@modernwife) on

    In a medium bowl, whisk egg yolks with 2/3 cup of sugar until smooth.

    Is it crazy that I’m making ice cream during a snowstorm?   A photo posted by Modern Wife (@modernwife) on

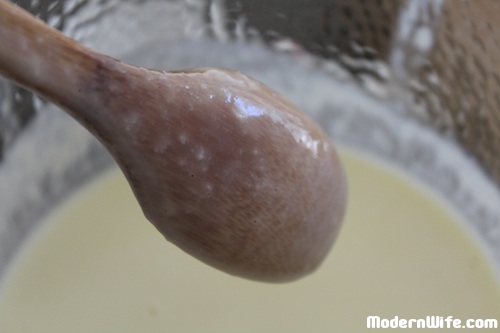
    Once the milk/cream mixture reaches temperature, slowly pour a little bit at a time into the bowl of egg yolks while whisking continuously. Don’t hurry this. You don’t want to cook your eggs into some kind of scrambled thing. Slowly but surely, you want custard. Ice Cream Custard Return the whole mixture to the saucepan and cook over low heat, stirring frequently with a wooden spoon until the custard thickens and coats the back of the spoon. It should reach a temperature of 185 degrees Fahrenheit without ever going to a boil. This will take a long time. Patience is the key. Pour the whole mixture through a fine mesh strainer into a clean glass bowl and let it cool to room temperature. Stir it often to let the heat out. Once completely cooled, cover and refrigerate overnight. Chill the bananas in the refrigerator as well.
    #Bananas in a blender.   A photo posted by Modern Wife (@modernwife) on

    Blend bananas, 1 tablespoon sugar, lemon juice, and half the custard. Blend until smooth then whisk back into the rest of the custard. Pour the whole mixture into a prepared ice cream maker. Churn until thickened.

    Melting #sugar A photo posted by Modern Wife (@modernwife) on

    While churning, cook 1/2 cup sugar in a medium skillet over medium heat. Stir with a wooden spoon once sugar begins to melt.

    Melted #sugar

    A photo posted by Modern Wife (@modernwife) on

    Once the sugar is completely melted and turned a reddish-brown color, lower heat to medium-low and add 1/2 cup of heavy cream. The mixture will bubble vigorously, so keep a distance from the pan immediately after pouring. Whisk and add the remaining 1/2 cup of cream.

    Melted #sugar + heavy #cream = #caramel A photo posted by Modern Wife (@modernwife) on

    Keep whisking and cooking until the sauce thickens but is still pourable, about 10 minutes. Cool completely, then refrigerate. It will harden in the refrigerator. Bring to room temperature before using as a topping.

    When the ice cream has churned into a soft serve consistency and just before it overflows out of the ice cream maker, turn the machine off. Transfer a little bit at a time into an airtight container, alternating with spoonfuls of caramel. Freeze until firm.

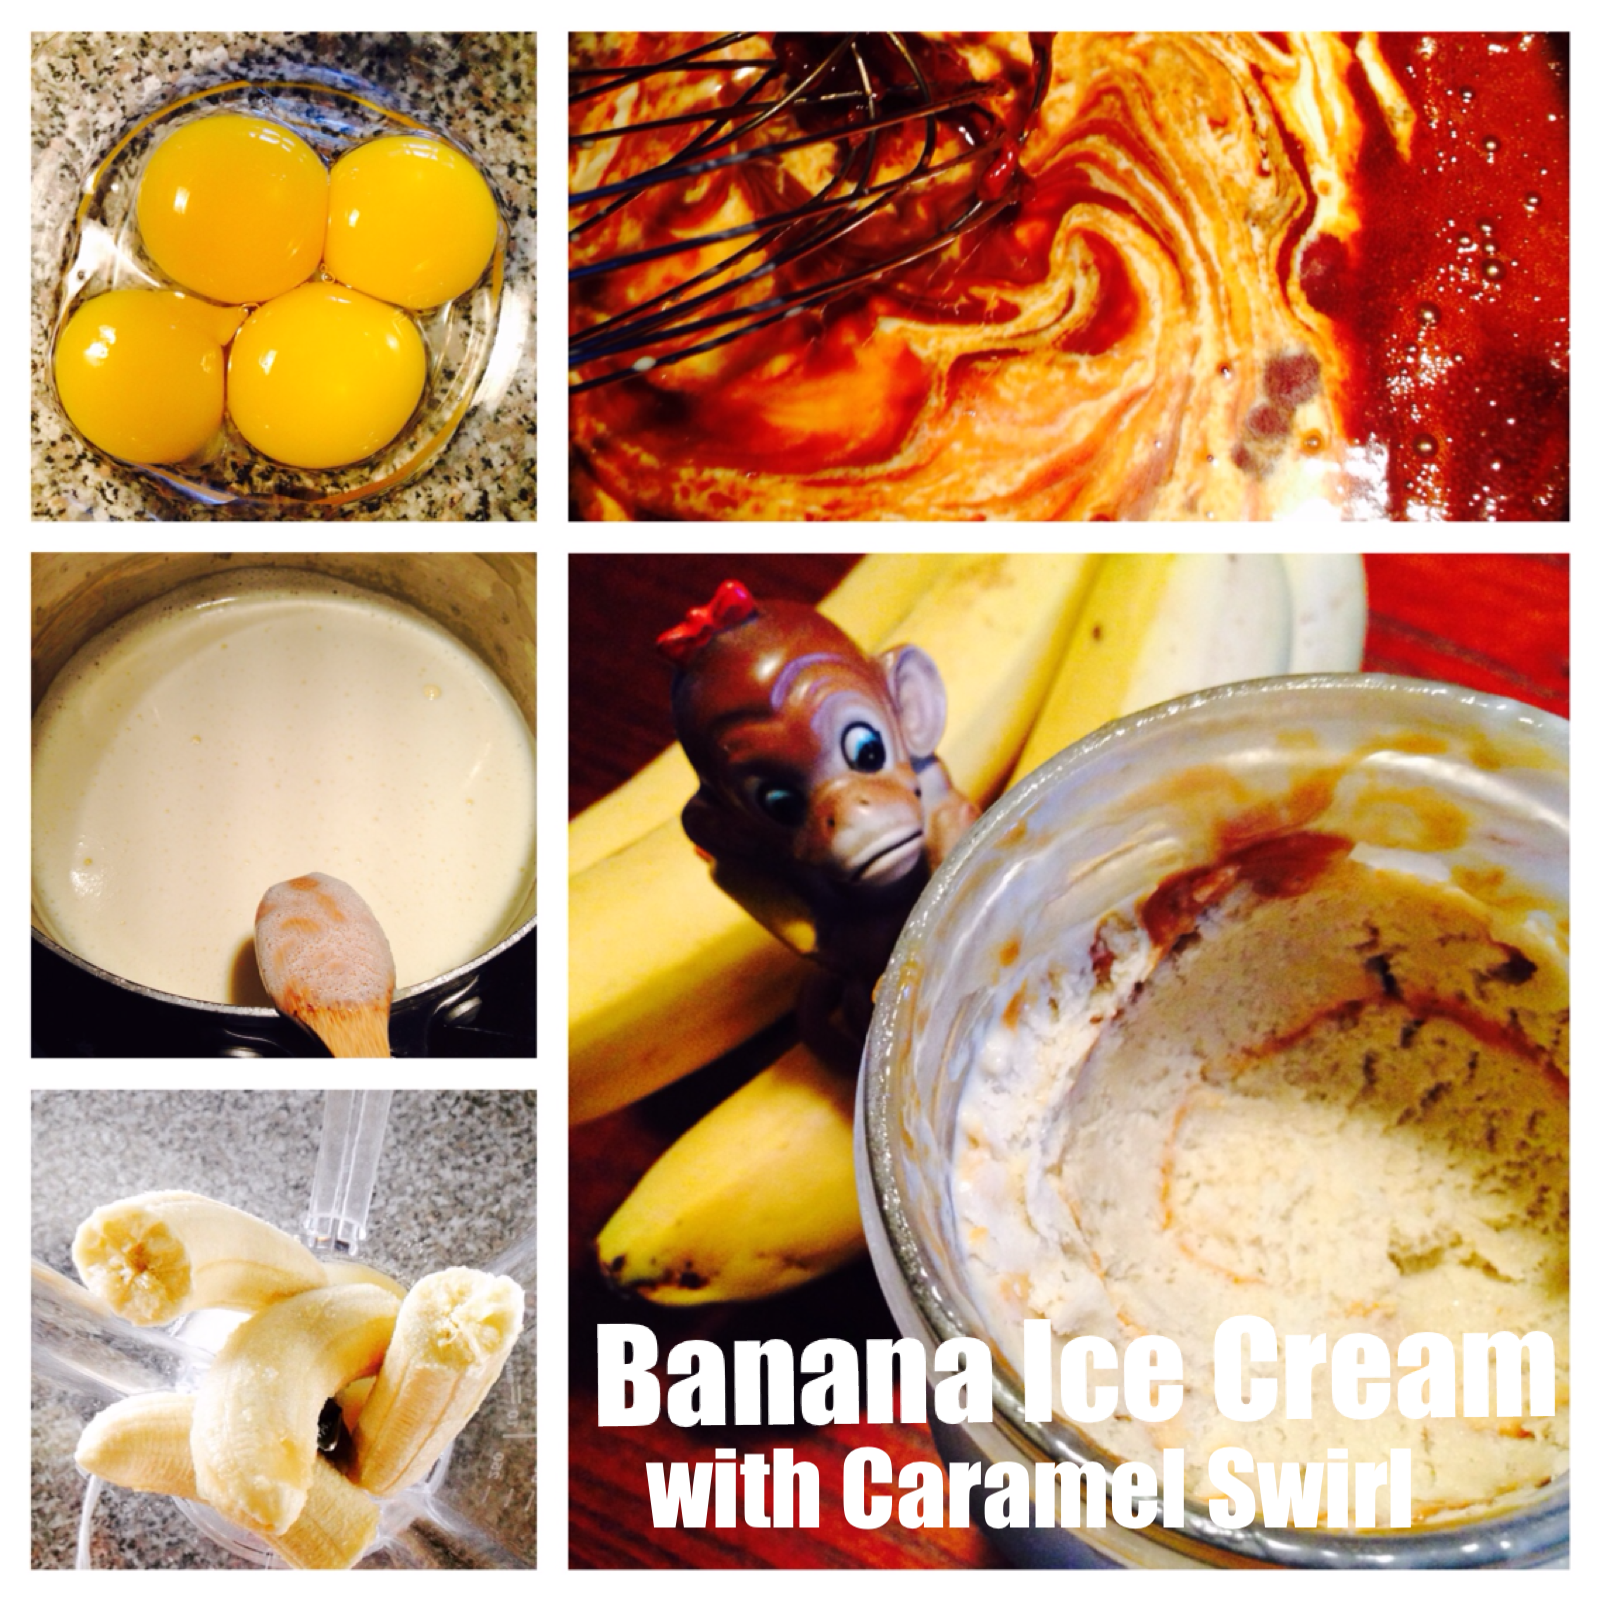
    Banana Ice Cream with Caramel Swirl

    Banana-yum!

  • Berry Yogurt

    Berry Yogurt

    It’s springtime and berries are back in season. Sure, you can find berries in the grocery store almost any time of the year, but more often than not, they look a little sad and travel-worn.

    I’m talking about berries you can find at your local farmers market, the kind more than likely grown just within a few miles from where you live. Yes, the kind that is bursting with nutritious ripeness because they were harvested the morning you bought it. (See Superfoods: 11 Berries to Improve Your Health.)

    Now I could probably eat a whole pint of any of these berries in one sitting, just popping each one in my mouth like popcorn. But for a heavier breakfast or dessert, I like to put it on top of a bowl of raw organic yogurt.

    Raw organic yogurt is dairy that is fermented with beneficial bacteria, for a healthy digestive system. (See 10 Proven Probiotic Yogurt Benefits & Nutrition Facts.) My local health food store stocks them from a local organic dairy farm. They come in flavors such as maple, vanilla and blueberry, but I’m a stickler for keeping it simple. I get plain for its versatility.

    Raw organic yogurt is not the same as the mass-produced yogurt you can buy in the grocery stores, which is over-processed through pasteurization, killing all the beneficial bacteria naturally occurring in raw milk. Then they add back a starter culture of live bacteria, thickeners, preservatives, and artificial sweeteners. It is nowhere near the creamy goodness I get in a mason jar from my local organic dairy farm. Believe me, it’s really worth it to find a local source for raw organic yogurt, and when you do…

    Scoop out some of that raw organic yogurt into a bowl, drizzle maple syrup to taste, and sprinkle your favorite berries on top. You’re welcome.

    Raw #yogurt with #berries and maple syrup. #organic #raspberries #blueberries #blackberries

    A photo posted by Modern Wife (@modernwife) on

  • Honey Lemon Ginger Tea

    Honey Lemon Ginger Tea

    It’s a lifesaver. Ginger is known to alleviate headaches, stomach aches, nausea and many other pains. In addition, raw honey is an antibacterial elixir and lemon is rich in vitamin C, which boosts the immune system.

    Ginger Lemonade

    Here’s the recipe for Honey Lemon Ginger Tea (or Ginger Lemonade, if you like it cold):

    sliced organic ginger
    juice of 1 organic lemon
    raw honey to taste

    Heat 1 quart of water to just before boiling point. Add ginger slices and let it steep for 20 minutes. Add lemon juice and sweeten with raw honey.

    Serve warm right away. Store the rest refrigerated in a quart jar.

    I like to keep the ginger slices in so it steeps even longer and brings it a stronger ginger flavor day after day.

    If reheating for tea, take it off the burner just before it boils. It’s also delicious served cold.

  • Lemon Vinegar Cleaner

    Lemon Vinegar Cleaner

    I love my scented vinegar cleaner. I’ve been using the Orange Vinegar Cleaner now for a year and it is fantastic. It has all the benefits of cleaning with vinegar: non-toxic, food-grade, environment-safe, non-allergenic, inexpensive, gentle on hands, deodorizing and effective on all surfaces (except granite or marble) – all while giving me that sweet citrusy smell of orange.

    In preparation for spring cleaning this year I am making Lemon Vinegar Cleaner for a stronger, tangier citrus scent. Fill a quart-size glass jar with lemon peel. Make sure the peels are clean. No need to scrub them or anything; just make sure there are no lemon sacs, membranes or seeds getting lost in there. If you don’t have enough to fill a jar yet, freeze it and keep adding to it until it’s packed tight.

    Pour white distilled vinegar into the jar until it covers the lemon peels, not quite to the rim but pretty close. Screw the lid on and store in a cool dark place for two weeks.

    After two weeks of soaking lemon peel in vinegar, it’s time to get it out. Set up a funnel into a HDPE 8-oz spray bottle. Pour the lemon vinegar a third of the way into the spray bottle. Top off with water.

  • Yogurt with Granola Bar

    Yogurt with Granola Bar

    I’ve been buying only organic raw plain whole milk yogurt since last summer. I found some in my local health food store and now I’m hooked. Let me break it down:

    Organic: means the milk comes from cows that are not given antibiotics or hormones, and are fed organic grass and not GMO corn raised on pesticides.

    Raw: means the milk is not pasteurized, fresh as fresh can be right out of healthy cows. It has not sat in a giant vat with who knows how many other cows’ milk to get pasteurized. Also, raw milk still contains the nutrition that is the reason why we drink milk in the first place. (Raw milk is illegal in some states. Because the government wants you to buy their crappy milk.) Here’s more info about real milk.

    Plain: means I don’t have to put up with overly-sugared yogurt from questionable sugar sources. It means I don’t have to eat old fruit that’s sat in that container for who knows how long. I’ll add my own fresh fruit, thank you.

    Whole Milk: means I want the fat. Yes, I do. Real fat, not saturated fat, is good for you.

    I’ve served it with Maple Cranberry Sauce, but mostly I serve it with apple. Here’s the recipe:

    Ingredients:
    organic raw plain whole milk yogurt
    organic apple, peeled and chopped
    organic maple syrup
    Nature’s Path Organic Crunchy Granola Bars, Apple Pie Crunch Chia Plus

    Scoop out yogurt into breakfast bowl. Drizzle maple syrup and top with apple. Finish with granola bars.

    Apple Yogurt with Granola Bars

  • Lime Candle

    Lime Candle

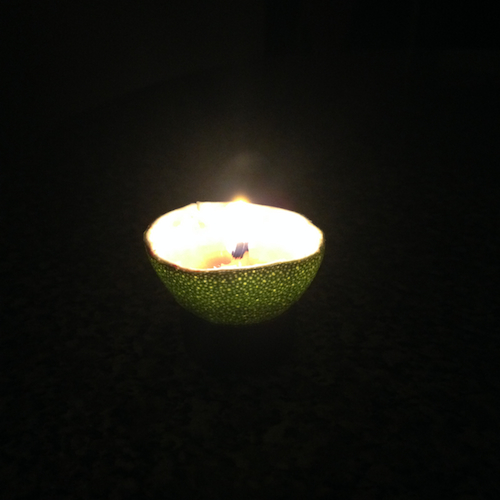
    I love this! Look at how the light comes prettily through the green lime peel. My daughter came up with this clever little decorating idea of turning lime peels into candles. She must have seen a tutorial on YouTube. The kid loves YouTube tutorials.

    Just clean out the inside part of the peel, leaving the center intact to serve as a wick. Pour a little oil into it. I used safflower oil because that’s what I have here at home. Then light up the wick. It may take a while before it catches a flame. The wick isn’t as dry as a cotton candlewick, so be patient. Once the wick browns it will start to catch a flame.

    Lime Candle

    This would look awesome as a table centerpiece for a romantic candlelit dinner. Valentine’s Day is coming up, and it’s on a Friday! Consider setting your dinner table with one of these. Better yet, float it on a wide vase of water to keep it safe.

    Make lime candles for spring, lemon candles for summer and orange candles for fall.

  • Honey Lemon Garlic Tea

    Honey Lemon Garlic Tea

    Every year I revisit this recipe, from Dr. Aviva Jill Romm’s book, Vaccinations: A Thoughtful Parent’s Guide: How to Make Safe, Sensible Decisions about the Risks, Benefits, and Alternatives. The recipe is listed as Garlic Lemonade, but I call it Honey Lemon Garlic Tea. Sounds sweeter (trying to just sneak in the “garlic” in there, so it doesn’t turn off my vampire husband and garlic-squeamish kid).

    My daughter has been spending a lot of time outdoors. Recess everyday consists of sled rides down the snowy slope. Last night I heard the beginning of a cough. It sounds dry right now, but I want to nip this cough in the bud. If the cough gets any worse I will have to give her minced half a clove of garlic in honey syrup. Blech! She knows the Honey Lemon Garlic Tea is a more palatable option.

    All three ingredients: honey, lemon and garlic are known to boost the immune system and are particularly awesome at taking care of the respiratory system. Here’s the recipe:

    Garlic Lemonade

    3 medium-sized garlic cloves, chopped
    (blogger’s note: instead of chopping, I pounded the garlic in a mortar and pestle)
    Juice of 1 lemon
    Raw honey to taste.

    Place the garlic in a 1-quart jar and fill the jar with boiling water. Let the garlic steep for 20 minutes and then strain it out. Add the lemon juice and sweeten with raw honey.

    Give 1/2 to 2 cups daily, the lower dose to prevent illness and for younger children and the greater quantity for older kids who feel like they are coming down with a cold.

    Don’t give the lemonade every day; just use it as needed.

    It’s fine to serve it cold in the summertime. But since it’s winter I heat it up to just when it steams (not boiling) and serve warm.

    Previously posted on Garlic Lemonade and Lemon Garlic Tea.

  • Orange Vinegar Cleaner

    Orange Vinegar Cleaner

    Vinegar is an amazing all-purpose cleaner. It is non-toxic and food-grade, safe for the environment and for the family, even those who have asthma. It’s inexpensive, gentle on hands, and deodorizing. It removes fabric stains, soap scum and mineral buildup. I’ve used it to clean ceramic tile, linoleum, enamel, wood, glass, stainless steel and chrome. The only surface vinegar isn’t recommended for is granite or marble.

    Although the vinegar smell dissipates in minutes, it is really strong while it’s being used. I found many recipes online for making scented vinegar cleaners so I decided to give it a try. It’s really easy!

    Fill a quart-size glass jar with orange peel. Make sure the peels are clean. No need to scrub them or anything; just make sure there are no orange sacs, membranes or seeds getting lost in there. If you don’t have enough to fill a jar yet, freeze it and keep adding to it until it’s packed tight.

    orange peel soaked in vinegar

    When you have enough orange peels to fill the glass jar, pour white distilled vinegar into the jar until it covers the orange peels, not quite to the rim but pretty close. Screw the lid on and store in a cool dark place. I hid mine under the sink. Mark your calendar two weeks from the day the jar was filled.

    After two weeks of soaking orange peel in vinegar, it’s time to get it out. Prepare 3 HDPE 8-oz spray bottles for each quart of vinegar soak you have. Set up a funnel into the first of the spray bottles. Pour the orange vinegar in equal parts into the three spray bottles. Top off with water.

    How to make DIY Orange Vinegar Cleaner

    I added a tiny drop of Orange Extract into each spray bottle to really make the orange scent pop. And voila!

    I made so many of these Orange Vinegar Cleaners that I’m giving away 3 bottles of it to 3 lucky commenters. Just leave a comment below before midnight April 7 to qualify. Good luck!

    More information on Vinegar:
    Vinegar Works Wonders
    1001 Uses for White Distilled Vinegar
    Distilled White Vinegar: A Non-Toxic Cleaner