Tag: husband

  • Chicken Tikka Masala Indian Meal

    Chicken Tikka Masala Indian Meal

    My husband introduced me to Indian food when we first started dating. It was love at first bite. I believe my first was The Clay Oven in Portland, Maine, soon followed by forays into Indian Row in New York City. When we moved to California, we went to Kulbir’s India Palace in Alameda faithfully for over a decade.

    I remember being a new mom, apprehensive because it had been three days and I still didn’t have any breastmilk. My daughter was under a bilirubin light in Children’s Hospital in Oakland. My husband and my parents managed to convince me to take a break and go out to eat. I had a bit of raita and it was like a dam broke. My milk had arrived! From then on, I became a believer in the medicinal power of raita.

    Raita

    Combine 1 cup of whole milk organic plain raw yogurt, 1/2 cup shredded cucumber, 1/2 cup shredded carrots, 2 tablespoons chopped mint or cilantro, and 1 tablespoon freshly squeezed lemon juice. Season with cumin, salt, and pepper. Refrigerate until ready to eat. I usually do this before anything else. The longer it chills, the more the flavors come together.

    The entree in this Indian meal is a Western favorite: Chicken Tikka Masala on basmati rice. On the side, we have naan, raita, tamarind chutney, and sweet mango chutney.

    We are lucky to have naan in our grocery store. If you don’t, there are easy recipes online for making it from scratch. Last resort, you could always get it at Amazon. Also in our grocery store ethnic aisle are tamarind chutney and sweet mango chutney. They also have hot mango chutney, but the sweet mango chutney has enough spice to make me happy. The tamarind chutney comes in a concentrated paste that needs to be diluted and sugared to taste.

    I start the Chicken Tikka Masala in a crockpot early in the day. Believe me it’s worth it.

    Chicken Tikka Masala

    Ingredients:
    1 pound organic chicken tenders
    15 oz organic tomato sauce
    1 medium onion, minced
    1 tablespoon fresh ginger, minced
    3 garlic cloves, minced
    1 1/2 teaspoon garam masala
    1 teaspoon ground turmeric
    Pinch cayenne pepper
    Salt and pepper
    1 cup whole milk organic plain raw yogurt
    Green onions or cilantro for garnish

    Combine all ingredients except yogurt in a crockpot. Set on high for 4 hours or low for 8 hours. Ladle a cup of sauce from the crockpot into a medium bowl. Whisk the yogurt into the sauce until smooth. Stir back into the crockpot. Salt and pepper to taste. Serve on a bed of basmati rice and topped with cilantro or green onions.

    Basmati Rice

    Before I add yogurt to the Chicken Tikka Masala pot, I get started on the Basmati Rice to make sure everything is served warm altogether. Melt 1 tablespoon unsalted butter or ghee in a medium saucepan over medium heat. Add 1 1/2 cups basmati rice and stir it about until rice is translucent and slightly toasty, about 5 minutes. Stir in 2 1/4 cups water, 1 teaspoon salt, 1 cinnamon stick, and a bay leaf. Bring to a simmer. Reduce heart to low and cover for about 14 minutes until liquid has been absorbed and rice is tender. Fluff rice with a fork.

    And serve.
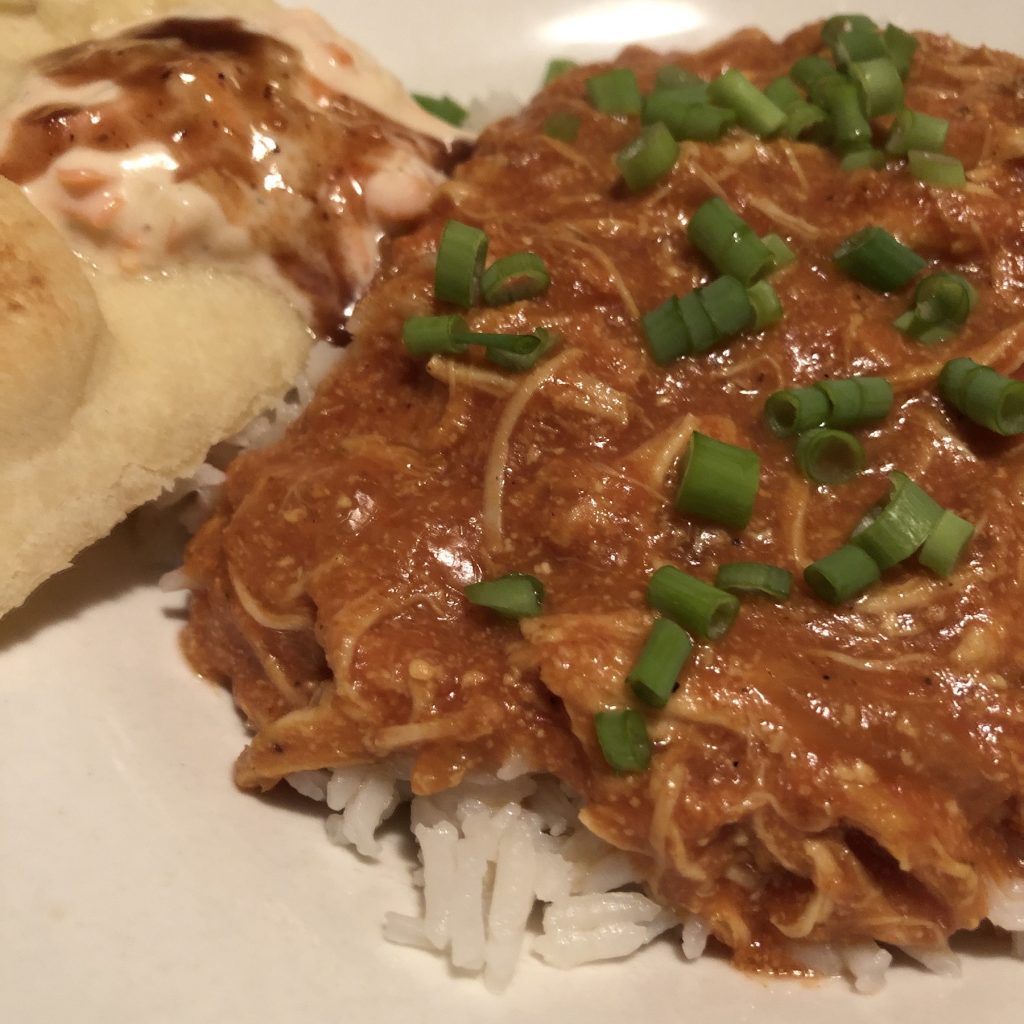
    Chicken Tikka Masala on basmati rice with side of naan, raita, tamarind chutney, and mango chutney

  • Cranberry Cheesecake

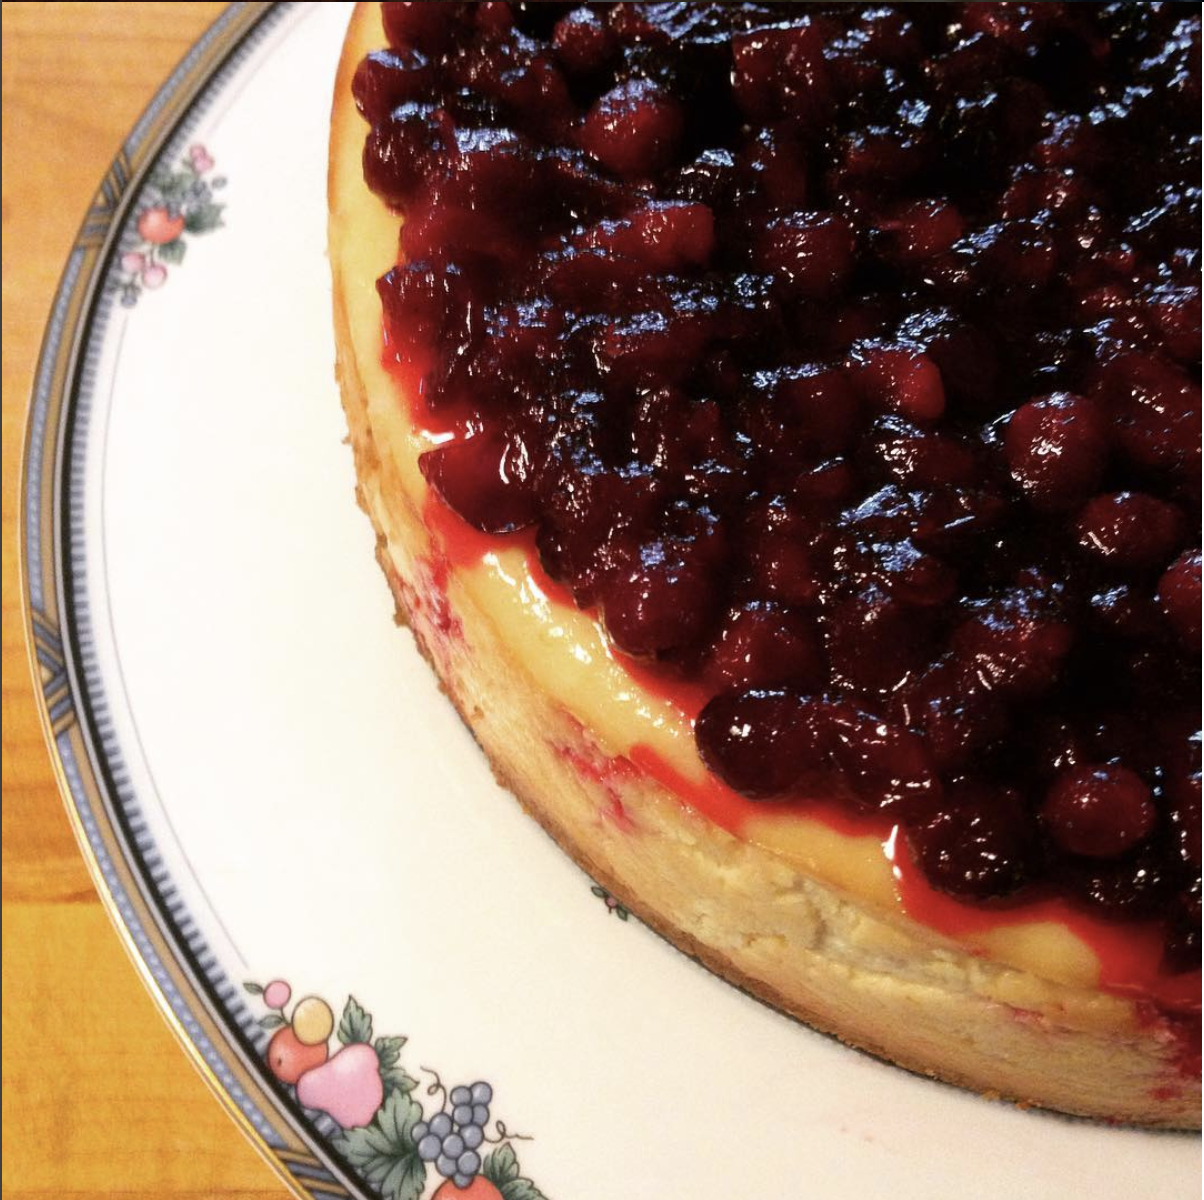
    Cranberry Cheesecake

    From the moment I took my first ever bite of a cheesecake, I was hooked for life. For the longest time, though, I always bought it, never made it from scratch here at home. It took a friend coming over and making one right in my kitchen before I realized how easy it is. Back then I didn’t even have a KitchenAid Mixer . It was all made with elbow grease. (The trick is to make sure the cream cheese is completely soft.)

    Now that my dear husband bought me one, it’s even easier. Faster. Well, at least the prep is. So tempt your family with this cheesecake recipe if you want them to get you a KitchenAid Mixer for Christmas. It will be worth it, I promise.

    Cranberry Cheesecake

    Ingredients for Cheesecake:
    (Get certified organic ingredients when possible.)
    15 graham crackers, ground
    3 tablespoons butter, melted
    4 packages cream cheese (8 oz each)
    1 1/2 cups sugar
    3/4 cup almond milk
    4 eggs
    1 cup sour cream
    1 tablespoon vanilla
    1/4 cup all-purpose flour

    Preheat the oven to 350 degrees Fahrenheit (175 degrees Celsius). Grease a 9 inch springform pan. Thrifty Tip: I save the wax paper from sticks of butter in the freezer. I use it to grease any and all baking pans.

    In a medium bowl, mix graham cracker crumbs with melted butter and press onto the bottom of the springform pan.

    In the KitchenAid Mixer bowl (or a large bowl), mix cream cheese with sugar until smooth. Add almond milk, eggs one at a time, sour cream, vanilla, and flour. Mix until smooth. Pour this cream cheese mix into springform pan, on top of the graham cracker crust.

    Bake for 1 hour. Turn the oven down to 300 degrees Fahrenheit for the next 30 minutes, then to 250 for another 30 minutes. Turn the oven off but let the cheesecake stand in the oven. Do not take the cheesecake out. Keep the oven door closed while it cools, approximately 5 hours. Once the oven and the cheesecake is cooled completely, take the cheesecake out of the oven and chill in the refrigerator.

    For cranberry topping, use my Maple Cranberry Sauce recipe.

    Cheers to you on this holiday season!

  • Autumn Apple Pie

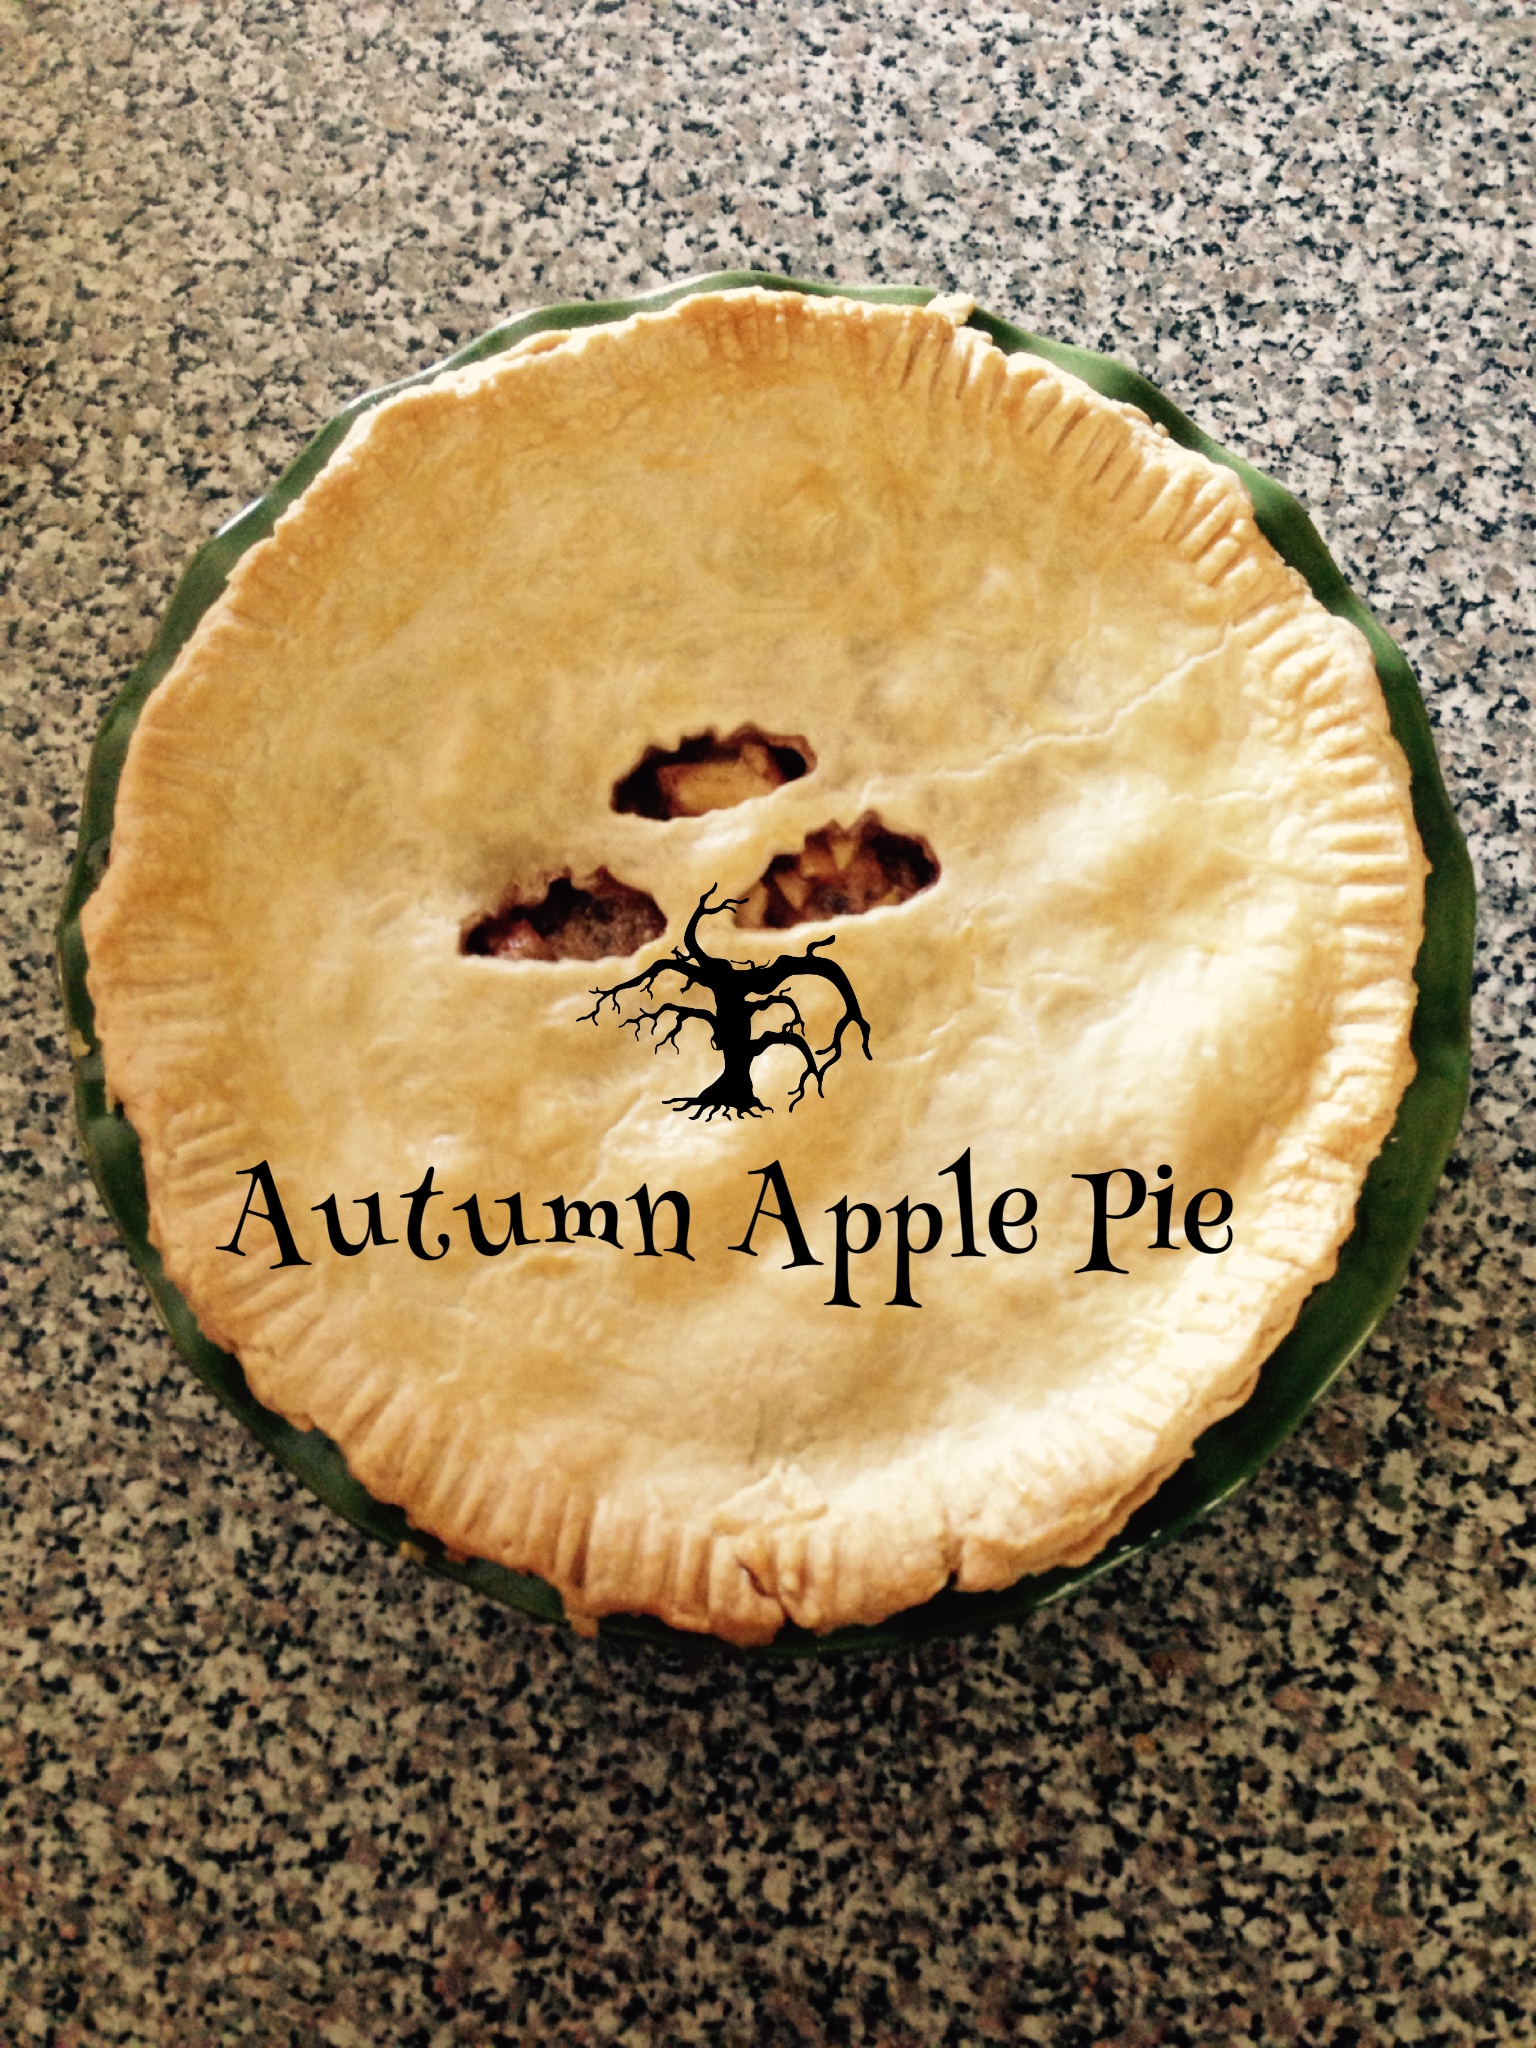
    Autumn Apple Pie

    This is a basic apple pie recipe that your grandmother likely already has in her recipe box, but here you go. Now you can have this apple pie recipe online as well.

    Apple Pie

    Ingredients: Perfect Pie Crust
    3 cups pastry flour
    1 cup (2 sticks) butter, softened
    pinch of salt
    1/2 cup iced water

    This is my perfect pie crust. I learned how to do it from a vintage recipe when I got married in 1996 and have perfected it all these years. Mix flour, butter and salt, until mixture is in crumbs. Toss with iced water. Do not overmix. Divide pie crust dough into two. Use the wax paper from one of the sticks of butter to grease the pie pan. Roll out one part of the dough and lay in the pie pan. Roll out the second part of the dough and cut out holes to let the steam out.

    Ingredients: Apple Pie Filling
    7 organic apples, peeled and sliced thin
    1/2 cup organic cane sugar
    1/2 cup organic brown sugar
    3 tablespoons organic and unbleached all-purpose flour
    1 teaspoons organic ground cinnamon
    1/4 teaspoon organic ground ginger
    1/4 teaspoon organic ground nutmeg

    Preheat oven at 375 degrees Fahrenheit. Mix all apple pie filling ingredients in a large bowl. Pour into the pie crust bottom already in the pie pan. Cover with the top pie crust. Pinch together and push a non-metal fork’s tines on the edge of the crust. This is a good time to put the assembled apple pie on the Food Zappicator and turn the zapper on to zappicate the pie. Brush whisked organic egg white on the top crust while zappicating. The egg white wash will give the pie a nice golden color once baked in the oven. Bake for 25 minutes. Turn the pie in the oven and bake for another 25 minutes. Cool before serving.

  • How to Make Homemade Pasta

    How to Make Homemade Pasta

    My daughter has been making homemade pasta with her Dad for as long as she remembers. Preparing meals is a family activity in our home. It’s so gratifying to see my 10-year-old daughter competently handling knives and the stove, while conversing about our family’s health philosophy (in between silly stuff).

    We stopped eating wheat for a few years, but the complexity of blended flours trying to capture the texture and taste of wheat seemed more of a process than simply committing to using organic or non-GMO wheat flour products.

    We still enjoy coconut flour for making coconut muffins, arrowroot flour for making dry arrowroot cookies, rice flour for making rice cakes. But when it comes to making bread and pasta, there is nothing like good old wheat.

    Homemade Pasta

    Ingredients:
    1 cup semolina flour
    1/2 teaspoon salt, optional
    2 eggs or 3 egg whites, free-range and organic

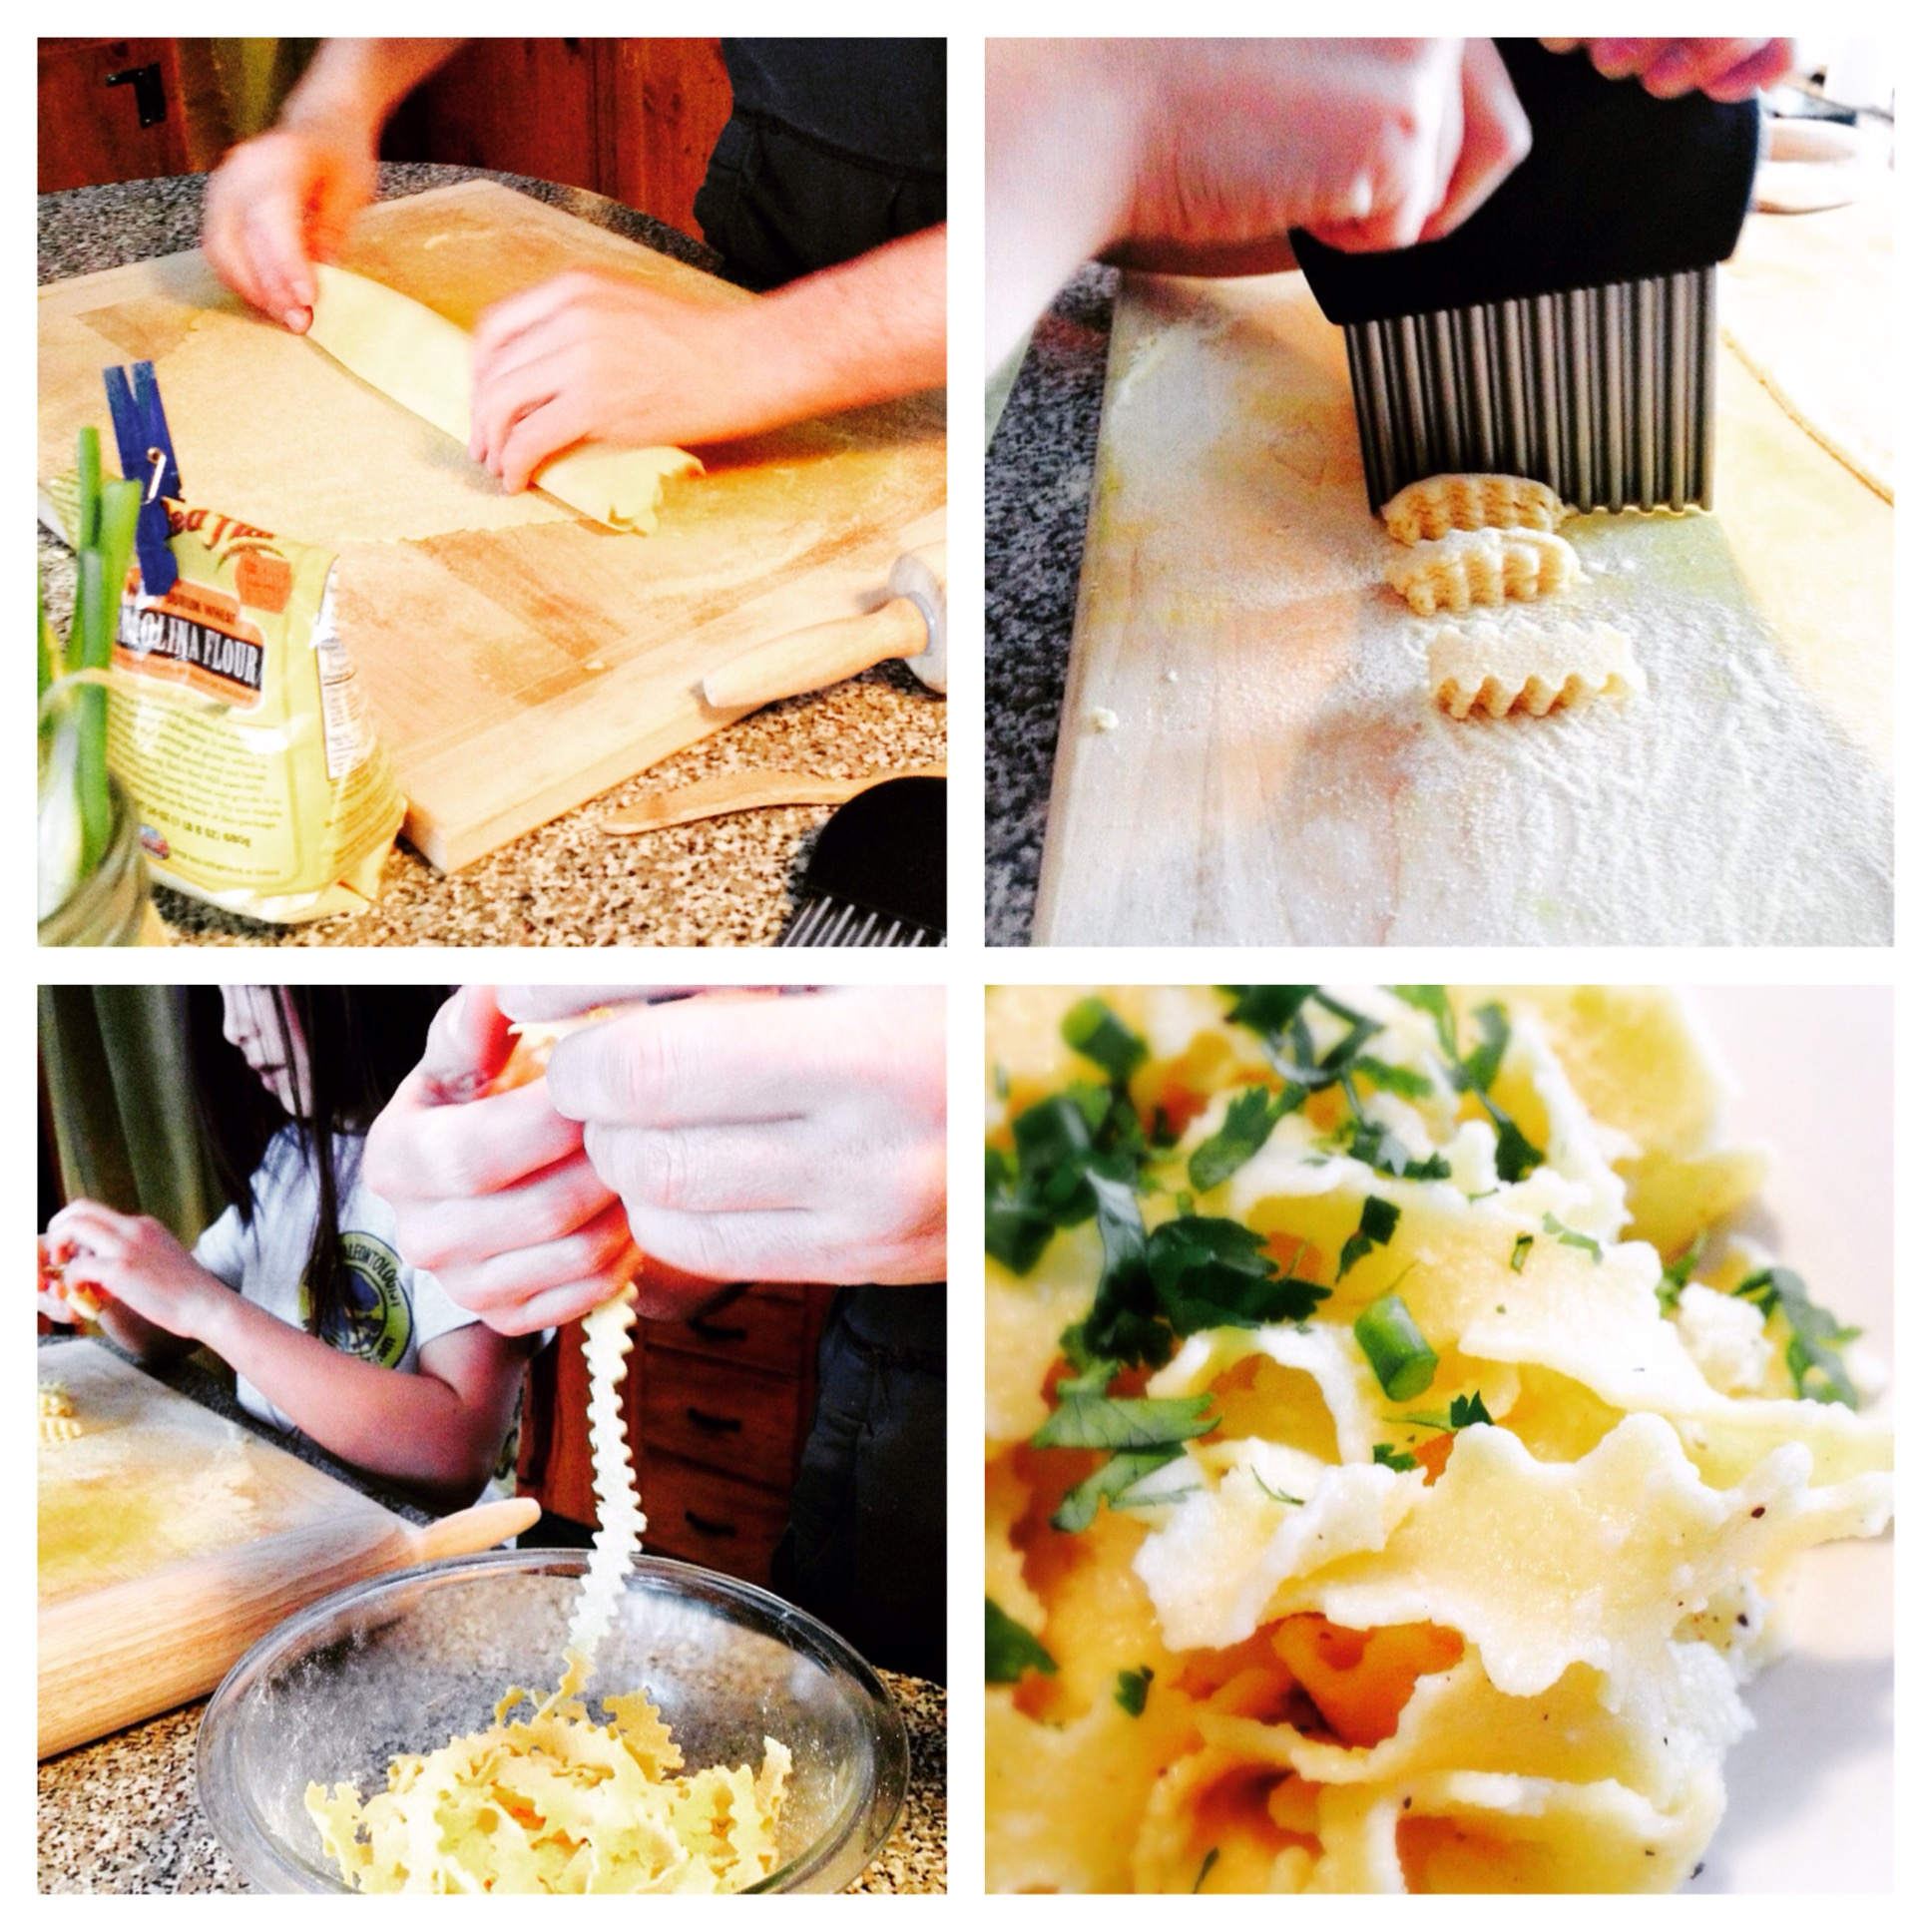
    Combine semolina flour and salt. Add beaten eggs. Mix to make a stiff dough. On a lightly floured surface, flatten dough with a rolling pin. Jelly-roll the flattened dough and cut into noodles.

    Homemade pasta for dinner. #semolina #pasta

    A photo posted by Modern Wife (@modernwife) on

    We used a curly knife to cut the pasta.

    My daughter chops the #pasta with a curly knife.

    A photo posted by Modern Wife (@modernwife) on

    Bring a large pot of water to boil. Unroll the pasta and add to the pot of boiling water. Cook until al dente.

    Unrolling #homemade #pasta.

    A photo posted by Modern Wife (@modernwife) on

    Serve with your favorite sauce. Or simply toss with butter, salt and herbs such as green onions and cilantro.

    #homemade #pasta #dinner with chopped #herbs. #cilantro #greenonions

    A photo posted by Modern Wife (@modernwife) on

    Serves 3.

    Buon appetito!

    Homemade Pasta

  • Celebrate!

    Join me in wishing my husband a happy 50th! We’ve been counting down each month with tips for good health and longevity. This month’s tip: Celebrate!

  • Coconut Muffins

    Coconut Muffins

    Coconuts made quite an impression on my husband and daughter when we visited the Philippines. My home has coconut trees growing right on our front yard. One Sunday morning a boy climbed one of the trees with a machete and carefully lowered bunches of coconuts down to our driveway.

    harvesting coconuts from tree in the Philippines

    We drank fresh coconut juice and ate fresh coconut “meat” that day.

    Coconuts are nutritious and can be eaten in so many different ways: juice, “meat,” oil, milk. Here’s a healthy breakfast recipe that uses various coconut products:

    Coconut Muffins

    Ingredients:
    4 tablespoons organic virgin coconut oil, melted into liquid
    6 organic eggs
    1/2 cup organic coconut milk
    1/2 teaspoon salt
    1/2 cup organic coconut flour
    1/2 teaspoon aluminum-free baking powder
    6 tablespoons shredded unsweetened coconut

    Preheat oven to 400˚F. Grease a 12-muffin pan with coconut oil or use paper muffin cups.

    Beat eggs, coconut oil, coconut milk and salt. Add coconut flour and baking powder. Whisk until smooth. Pour batter halfway into muffin cups. Sprinkle with shredded coconut.

    Bake for 15 to 20 minutes. Makes 12 muffins. Serve with raw honey for sweetening.

    This is based on a recipe found in The Candida Free Cookbook by Shasta Press. I skipped the Stevia for sweetening. Stevia is the sweetener of choice for people who are on a candida-free diet. Since my family and I are not, I took the liberty of topping the unsweetened coconut muffins with raw honey to taste.

  • Read

    Read

    One of the most rewarding parts of my day is reading to my daughter at bedtime. I’ve been reading to her from the moment she was born.

    When she was a baby, the sound of my voice soothed her as I read her short poems and sang her songs.

    When she was a toddler exploring her environment, soft books with tactile features amused her to no end.

    We read board books as she learned more about the world around her. She began recognizing images and putting them together with words. Her favorites were Margaret Wise Brown’s Goodnight Moon, The Runaway Bunny, and Big Red Barn; and Eric Carle’s The Very Hungry Caterpillar, The Very Lonely Firefly, and The Very Busy Spider.

    As she extended her command of language, her love for books grew. She got into Dr. Seuss and the poetry of Shel Silverstein.

    Long before she learned to read she had memorized Maurice Sendak’s Where the Wild Things Are, Skelly the Skeleton Girl by Jimmie Pickering, and Dr. Seuss’s One Fish Two Fish Red Fish Blue Fish.

    By the time she started kindergarten we were reading long form books. The first one was The Wonderful Wizard of Oz, which began our journey through the L. Frank Baum series. After that we dove into the How to Train Your Dragon series by Cressida Cowell. While waiting for the latest Dragon series release, we read all 7 books of J.K. Rowling’s Harry Potter series.

    In third grade she started reading Roald Dahl on her own: Matilda, James and the Giant Peach, Charlie and the Chocolate Factory, Charlie and the Great Glass Elevator, and The BFG. At this point in time she already has a wide social life separate from me, and a great many interests she pursues on her own.

    I still read to her at bedtime, even though she can very well read by herself. We take turns, two pages each. We read The Spiderwick Chronicles by Tony Diterlizzi and Holly Black. We read Greek mythology and the book of Genesis.

    When I started reading to my daughter, I thought I was simply teaching her how to read and love books. What I’ve learned is that there is so much more to it than that. Most of the books I read to her, I had never read myself before. I was experiencing these stories for the first time with her. This was not a case of me, the elder, imparting wisdom to my young. We were sharing laughter, spontaneous bursts of tears, and epiphanies together. We were learning so much about ourselves and each other while we read. Most of all we’ve developed a language and a culture between us based on a literary bond we can draw upon as reference as we navigate the real world together.

    That is the gift of literature.

  • Play Music

    Go on, you know you want to. Just pick up a musical instrument and play it. If you don’t have an instrument, just sing. Or beatbox.

    Don’t worry if it’s not good enough for anyone else to hear. Just sing. Sing a song.

  • Take a walk

    Spring is just around the corner. The snow and ice is melting. The sun is shining brighter. This past weekend we took a 2-mile walk to the village and back. It was great to get some exercise, fresh air, sun and sightseeing at Camden Village. Come along with us.

  • Fearless Deer Tick Killers

    Fearless Deer Tick Killers

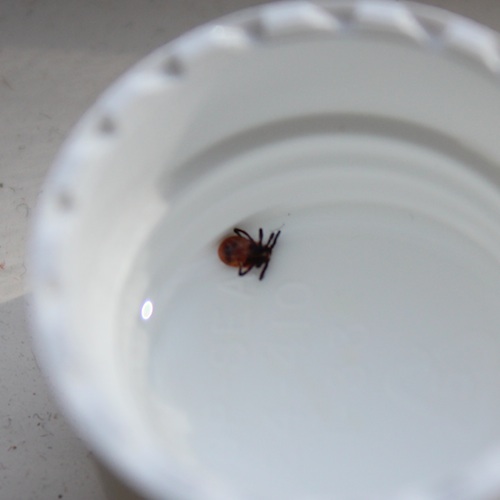
    Something terrifying happened! My husband was helping his uncle put away wood in their basement and found a deer tick on him. He showed it to me and flushed it down the toilet. The next morning he found that he missed another deer tick that had overnight lodged itself into his skin.

    What followed was horrifying. My husband had to pull the tick off him with tweezers, taking care not to leave any tick parts in his skin.

    After he pulled it out, we drowned it in a little bottle cap of vodka.

    I’m glad he noticed the tick on his body right away. The less amount of time a tick is lodged into one’s skin, the less likely to develop lyme disease.

    The usual course of action if one suspects lyme disease is to go through several rounds of antibiotics. A woman who has been living with lyme disease for over a decade told me that she had a few rounds of antibiotics after she got bitten by a tick, and that she stopped taking antibiotics as soon as her lyme disease symptoms ended, only to have relapses many years later. She said in retrospect she should have continued on the antibiotics well past when her symptoms ended.

    Karen Allen, actress well known for her appearance on the movie Indiana Jones, talked about her bout with lyme disease and how she found relief in the Hulda Clark Zapper.

    Another reason to feel lucky that we have the Hulda Clark Zapper in our home. Every home should have one!

    Here’s Jay’s Countdown to 50 this month, in which he talks about using the Hulda Clark Zapper after he pulled the deer tick off his skin.

    Related:
    How to remove a deer tick (illustrated)